By Doug Trott
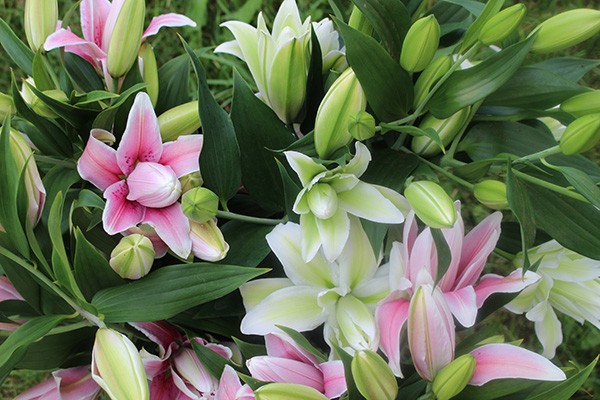
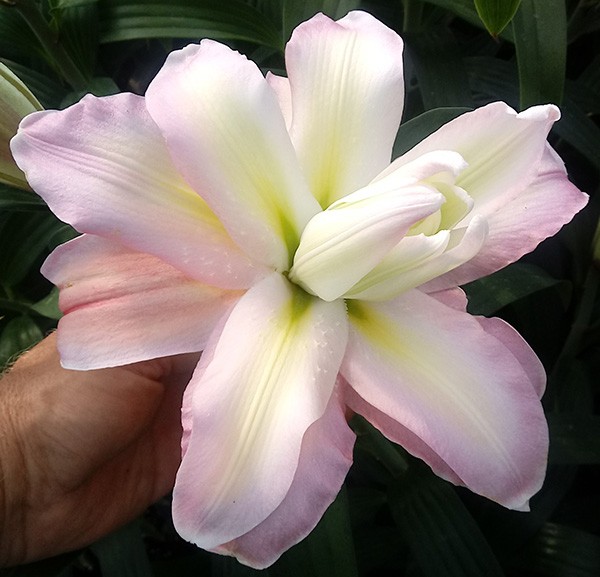
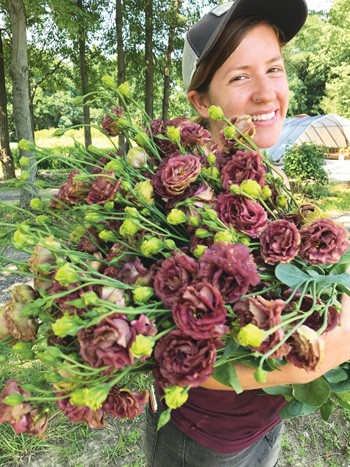
As soon as we start driving our routes in the spring our customers ask us when we’ll have roselilies. They’re that popular and have become a signature crop for us. They’re basically a type of oriental lily, but with multiple layers of petals, and without stamens and pistils (i.e. no pollen!).
Best of all, they’re pretty easy to grow. The first two Roselily varieties became available in 2011, and since then more and better varieties have been introduced. The bulbs are available from only a few brokers worldwide; we get ours from Zabo Plant.
Lily bulbs of all types are typically purchased in crates, with the quantity of bulbs per crate varying with bulb size. The larger the bulb, the greater number of blooms per stem, though it’s not the same from one variety to the next – in other words, a particular size of bulb for one variety might provide 2-3 blooms, while that same sized bulb in another variety might provide 3-5.
Larger bulbs cost more, and so a crate of 200 large bulbs will cost about the same as a crate of 300 smaller bulbs. You need to know if your market prefers more or fewer blooms, and/or whether or not you can have different prices for stems of lilies depending on the number of flower buds. We aim for 3 blooms but will accept some percentage of 2s. We also want to have 300 bulbs per crate, not 200 - more bulbs per crate (at the same selling price per stem) means more profit.
Other variables include stem length and forcing time. Avoid the Roselilies designated as pot lilies – they will be a little short for cuts. Forcing times for Roselilies are generally around the 100 – 110-day mark. Faster is better, because it means fewer days you can screw up the crop, plus it gives you more time to fit in another crop, but we consider bulb size (bulbs/crate) to be way more important, and so sometimes we have to accept longer forcing times.
We treat our lilies as annuals and plant the bulbs in the crates they come in, 20 bulbs per crate. If you don’t have crates, you can likely procure some from any nursery for a few bucks each – the industry uses them for transplanting bare root perennials, among other things. Just make sure you get the deeper, 9” crates, and not the shallow crates (that are fine for tulips) that are about 6” deep.
We used Fafard 3B mix for the growing medium, when that was available. Any similar medium-texture mix will be fine. Coir is often used, though it’s more expensive in our area than standard mixes. While we do add some fertilizer, a compost-based medium would be wasted.
When you receive your bulbs, they will have been shipped overnight from where they were stored frozen and will have broken dormancy (they need that cold treatment to bloom). There’s no going back, though you can slow growth a little through cooler growing temperatures.
The roots you see at the bottom of the bulb are strictly for anchoring the bulb. The roots that feed the plant emerge from the portion of the stem that’s below ground, which is why it’s important to plant the bulbs deep. We’ll plant them one or two days after receiving them, opening but then storing the crates in a cool place until we’re ready. Be careful when planting the bulbs if they’ve sprouted, because if the growing tip breaks you might as well throw the bulb away. Each bulb only produces one stem, so whatever you do, don’t pinch them!
We lay a sheet of newspaper in the bottom of each crate, to help keep the media from spilling, and then add about two inches of media. The bulbs are then nestled into the media, five rows of four bulbs. When planting this densely, it’s important to leave about 4” between crates when they’re placed in their final location for growing, in order to provide enough room for growing plants. You can place the crates adjacent to one another if you just plant twelve bulbs per crate.
Next we add a couple more inches of media, to cover the bulbs, and water deeply. Then, we sprinkle a quarter cup of Sustane 90-day release 12-12-12 fertilizer into each crate, completely fill with more media up to the bottom of the handles, and then water again. Any general fertilizer should be fine, and if it’s not a delayed release, we would just add it on top a few weeks after the lilies have emerged.
Ideally, at this point the crates are stored at 50-55F so that the anchor roots can grow before the stems emerge. We can’t do that with our later batches, and so they’re often just stacked inside a pole shed out of the sun. Depending on temperature, it takes about 10 days for the stems to emerge, at which point they’re moved to their growing location, in a high tunnel, and watered thoroughly again.
Circumstances have occasionally delayed unstacking the crates until after some of the stems have grown against the crate stacked above, in which case they’re almost white from the lack of sunlight. But they straighten up and color up in a few days, with no harm being done. At this point, temperatures should be at least 65F – any cooler and forcing time will increase.
We grow our lilies under 50% shade. They are susceptible to sun scalding, especially when in crates, so we advise against growing them that way unless you have shade cloth. They should be watered somewhat sparingly until the buds form, which occurs less than halfway through the forcing period.
After that point, they need a lot of water in order to avoid sun damage and to ensure the buds will open properly. We water ours every other or every third day, depending on temperatures. Adequate watering can’t be emphasized enough – sun scalding damages the tips of the buds, ruining their blooms. The first years we grew lilies in crates, before we had shade cloth, we couldn’t water them enough to avoid sun damage.
An oriental lily is typically harvested and sold as soon as the first bud shows some color but before it has opened – at that point all of the buds will eventually open. An open lily is difficult to transport, because it’s easy to damage the flower and lose a petal. That’s another nice thing about roselilies – they open a little slower, and with all those petals, you can lose one and the stem is still sellable.
We often wait until the bud is just starting to open before harvesting, which usually occurs a day or two after color appears. Lilies must be harvested daily (at least). In the early summer, a batch will bloom rapidly – we’ll harvest a few stems the first day or two, and then we’re harvesting about 25% of them each of the next three days, and then we have another day or two for the stragglers. We will rapidly have several hundred lilies to sell. Finally, to slow their opening once harvested, store them as cool as possible (though above freezing), and use a floral holding solution rather than a floral preservative. Warmer temperatures and sugar can make lilies open quickly.
If you’re interested in growing roselilies, you’ll want to reserve the crates as early as July the previous year – bulbs are in demand. You can then delay figuring out your shipping schedule until October. In early summer, request Zabo Plant's availability spreadsheet, which will include stem lengths, forcing time, expected blooms per bulb size, and price. Grow some, and you might find yourself to be as addicted as we are.
Lisianthus
Lisianthus is very popular among both florists and studio designers, and is grown by a lot of farmers. If you’re a new grower, you might be tired of everyone telling you to grow lisianthus, but there’s a reason we keep pushing it. Lisianthus has been our most popular flower for years, and makes up about 20% of our revenue. If we have a gap in our production and have little or no lisianthus for a week, we see a dramatic drop in income.
Lisianthus can be grown from seed or from purchased plugs. Before getting into that, though, it’s worth mentioning that lissies, like snaps, are categorized in groups according to the minimal daylength preferred for blooming. Unlike snaps, there can also be a difference in growing speed within each group, whereas for snaps the short day-length cultivars are consistently slower growers than the long-day ones.
If you plant lisianthus fairly late in the spring, you won’t see much difference among the groups when they bloom. If you’re able to start some very early, seeding them in the late fall, you will see some variation. We do four batches of lisianthus, each a month apart, with the first two mostly in groups I & II, and the second two mostly in groups III & IV. We aim to have lisianthus available continuously from mid-June until early October.
In late August, the first batch of lisianthus starts re-blooming just as the fourth batch completes its first flush. That’s the reason we grow short-day varieties in the first batches – we want to be sure they’ll re-bloom in the shorter days of fall. Because of the growing speed variable, and because we grow a variety of lisianthus series (more on that later), we don’t see a consistent, crisp delineation in timing between the groups across all of the varieties we grow, but it works well enough to provide an even supply.
If you purchase plugs, be sure to unbox and water them right away when you receive them. They might not appear to need water, but do it anyway. It’s likely that the growing media used is different from what you use, and is very porous.
Whatever intuition you have about knowing when a tray needs to be watered only applies to the media you use! We purchase plugs in 288 cell trays, and bump them up to 72s as soon as we can – usually a day or two after receiving them. We use a compost-based mix, so as soon as they’re bumped up we no longer have to worry about the lack of fertility in the plugs.
We start most of our lisianthus from seed, in 288 trays indoors under lights. The seeds are always pelleted, and so don’t need to be covered. Give the trays a good soaking, to help ensure the clay pellet disintegrates. The seeds appreciate a heat mat at 70F, and generally take about 12 days to germinate. The seedlings are tiny, and it’s more of a challenge to keep them alive than it is to germinate them in the first place. We mist ours daily with a spray bottle, and bottom-water the trays about every 48 - 72 hours. After three months (!) they’re ready to be bumped up to 72s, and then they need about another month before being ready to transplant.
If the lisianthus seedlings stay too warm (say above 80F) they are likely to rosette and not extend. This effect is even more likely if grown under short days. So grow your lissie plugs under long days (We do 14 hours) and try to keep the temperatures in the 60s. After transplanting, the high temperatures are no longer an issue – our later batches of lissies are grown in high tunnels that could be above 100F in July and August.
It’s not against the law to transplant the plugs directly from the 288 tray and skip the month of growing on in the 72s. It depends on your soil, and your comfort keeping the smaller transplants adequately watered. We’ve had better success transplanting the larger plugs.
To prepare our beds for transplanting, after tilling, we lay down four rows of drip tape a foot apart, and then place support netting on top. The netting has 6” X 6” squares, so every other line of netting should lie over a line of drip tape (see photo). We use drip tape with emitters every 4” for lisianthus, which is a critical component of our approach. In our soil this spacing leaves a strip of wet soil, rather than the round spots typically seen with 8” and 12” emitter spacing.
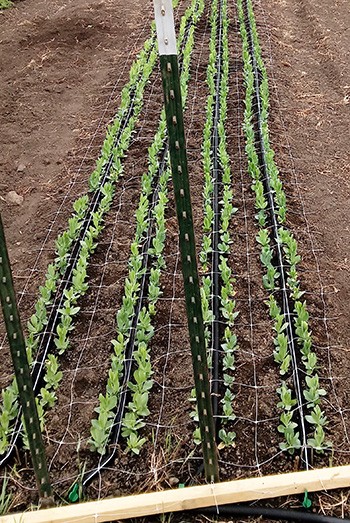
We then plant two plugs in each square of the netting, placing each alongside the drip tape. In the photo you can see how this leaves an empty strip halfway between the drip tape lines. That empty strip never gets watered by the drip tape, and so reduces weed pressure. Overall, this planting schema makes weeding easier than if we dispersed the plugs more evenly throughout the bed.
We understand that Jamie Rohda, of Harvest Home Flowers in Waverly, Nebraska, will remove the netting temporarily after transplanting, in order to make weeding even easier, and then replace it as the lissies grow. We’ve always left it in place, raising it as needed, but it does get in the way of weeding. Either way, planting density is eight plants per square foot, resulting in a lot of dollars in a small amount of space.
When lisianthus blooms, the first (and slightly largest) bloom is on the shortest stem, and just as it’s starting to fade, the buds on taller stems start to open. Some growers will pinch that first bud, though we don’t. We begin harvesting lisianthus when the first bud opens, because the demand is so strong, but we go slowly, and soon all that we’re harvesting are multiple.
Then we’ll remove the first bloom if it’s obviously bad, but our customers understand that they’ll often have to remove that first bloom themselves. We price our lisianthus by the stem, and bunch in 10s, while other growers price by open bloom. So should you harvest with a single bloom or pinch that bloom, and should you price by the stem or by the bloom? Do what your customers want.
In case you’re wondering which series or colors to grow, here is some good news – they’re pretty much all great. We’ve only had problems with ABC1 Purple and ABC1 Rose Rim, finding stems to be weak in both. We do grow extra of white and champagne/apricot varieties, as they are a little more popular among our customers (which includes florists and wedding designers). We’re trying a few single-flowered varieties this year but expect the double-flowered to remain more popular.
Except for the two mentioned previously, the extensive ABC series is good, as are the Arena, Corelli and Voyage II. The Roseanne series has some unique colors, though they tend to sell much better for me in the fall than the spring. We’ve also grown some of the Echo and Mariachi series, which are fine, though perhaps a little smaller for us.
Breeders are constantly making new cultivars available, and so it’s worth trying some new ones every year.
Consider growing lisianthus and roselilies, especially if you have greenhouses or high tunnels. They do very well for us in those environments and are always among our highest income producing flowers.
Doug and his wife Robin started growing flowers on their farm in 2010, making bouquets on their kitchen table for the local grocery store. Flower farming became Doug’s full-time job in 2014. Robin also breeds registered Katahdin sheep.

.png)
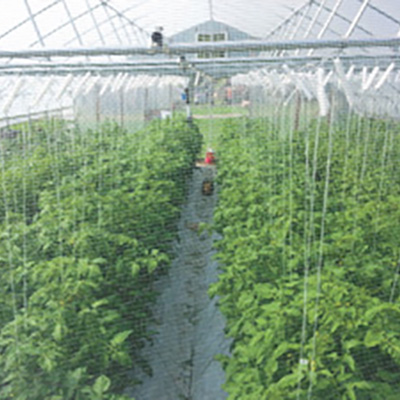


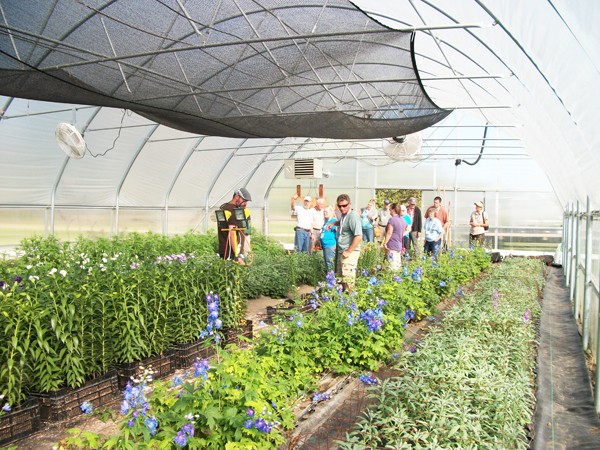 Prairie Garden Farm has been growing cut flowers for florists and studio designers since 2010. As we’re on an exposed hillside in west-central Minnesota, we’re dependent on protected culture to grow quality flowers. This article describes our approach – planning, financial, and operational details - that helps us make the most of our structures.

 The pool of flower farmers is growing quickly it seems, leading to some changes in the industry. Most importantly, flower seeds, bulbs, and tubers are selling out fast, are in limited supply, or are not available altogether. Be sure to get your orders in on time, which is basically as soon as the season for that item is over.
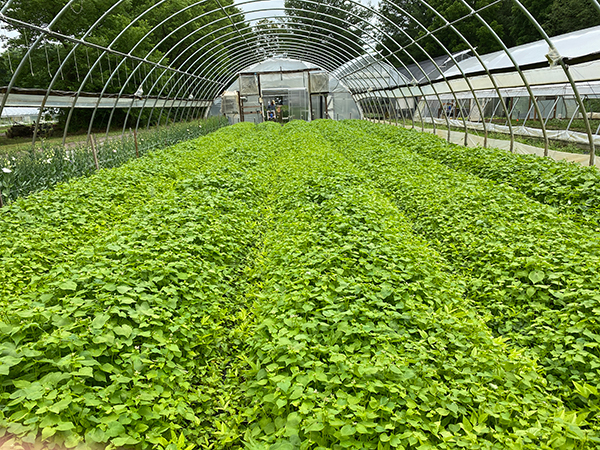 Over the last 10 years, there has been a lot of information coming out pertaining to growing veggies in soil in greenhouses. We wanted to share some of what we’ve learned over the past 13 years growing flowers under plastic and touch on some new approaches we’ve implemented since we last wrote about greenhouse growing (see our GFM articles in November 2014, November 2015, and April 2018).
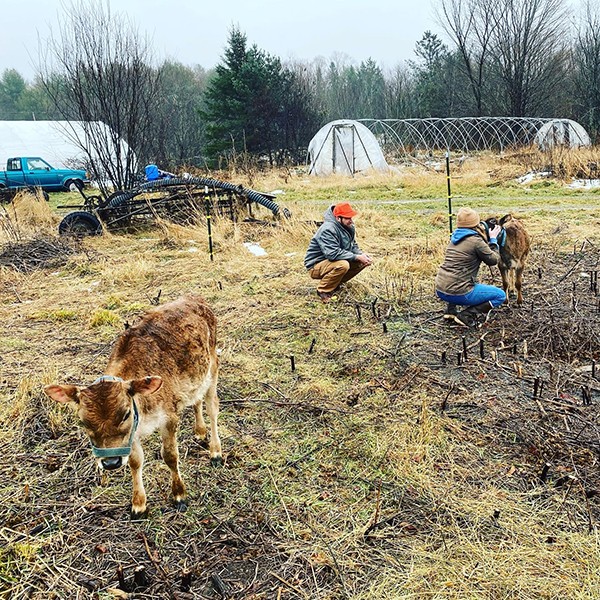 Why two of our hoophouses are named because of Emily
 In the hoophouse plants grow bigger and faster. We want to avoid anything that slows growth down. All that growing burns up the organic matter and nutrients in the soil at a fast rate, particularly in hot, humid climates. We need to replenish the soil more generously and more often than we do outdoors. Good soil health means having enough plant nutrients, not surplus. If you have too much soluble nitrogen (N), it can leach into the groundwater or burn up the organic matter. Using manure or compost for a nitrogen source can cause the build-up of excess phosphorus (P).
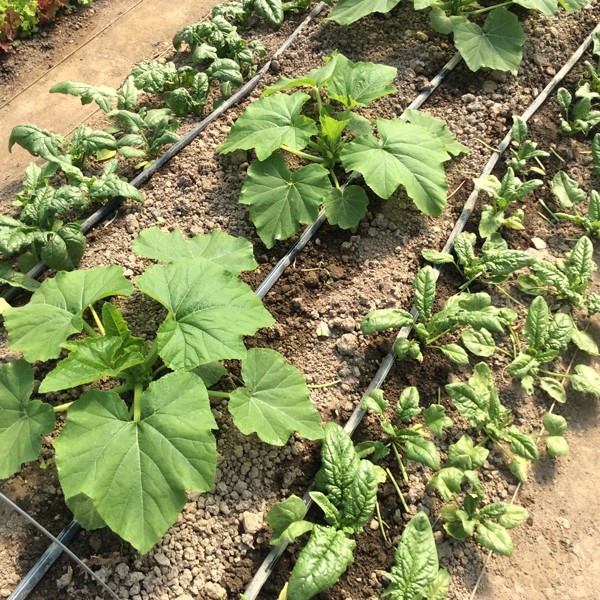 We have three main seasons in our zone 7 central Virginia hoophouse: fall-winter (October to March), spring-early summer (March to July) and high summer (August and September). We grow one bed (90’/27.5 m or so) each of yellow squash and bush cucumbers in the spring-summer season, for reliable early harvests and to help with crop rotation. If you farm in a colder climate than ours, you might be questioning allocating the precious real estate to a crop that so quickly goes from desirable to over-abundant, especially when there are more profitable things to give the space to. One reason is a difference between southern and northern climates.
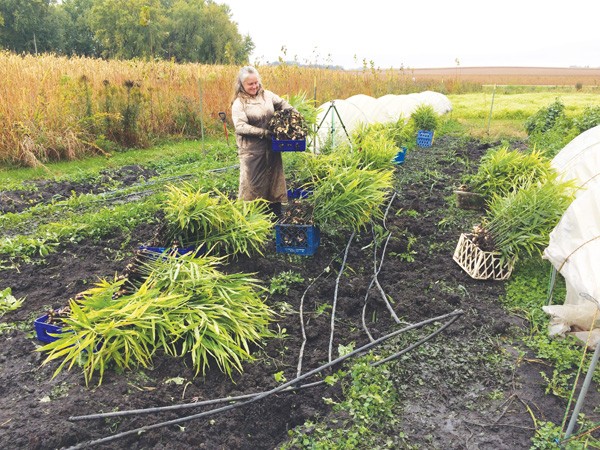 Local and organic ginger is a high-value crop that in the right market can be in high demand. Growing this tropical crop in the Midwest can be a challenge, and thus far, farmers thought they had to own a high tunnel to ensure adequate heat during the variable spring and fall seasons. High tunnel space on most farms is at a premium, so it is expensive space to devote to a long-season crop.
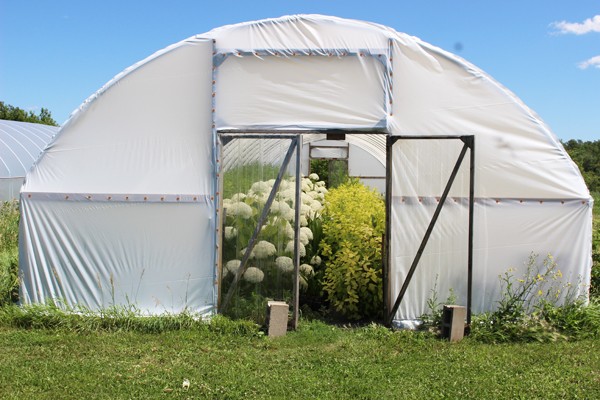 With protected space on the farm at a premium, we have to choose wisely when deciding which crops are worth putting under cover. We start out by deciding what to grow overall, and then deciding how much of that can fit inside structures, by doing a little revenue and profit analysis. Quickbooks is used to record sales, so it’s easy to list sales per item at the end of the year to see what brought in the most revenue. A version of that report extracted to a spreadsheet calculates profit per square foot by first subtracting the costs of plugs or bulbs, and then dividing by the cultivated area for each item.
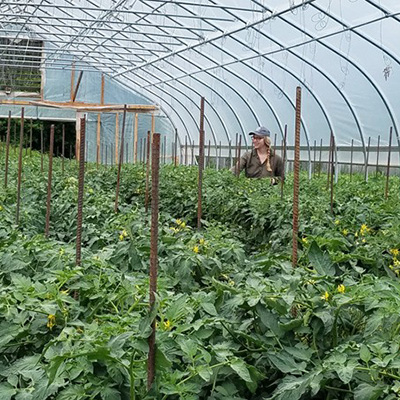
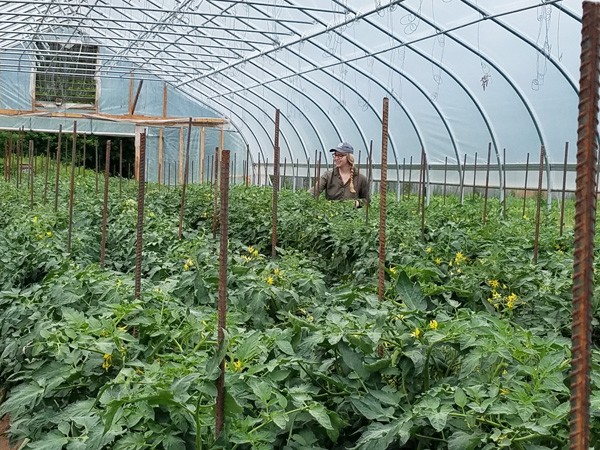 High tunnels have played a crucial role in season extension for market growers, with popularity increasing over the last decade to meet demand for locally grown produce year round (or close to it). Once built, the high tunnel becomes some of the most valuable real estate on the farm and many growers are able to produce exceptional yields in the first few years. After several seasons, yields begin to decline and many growers struggle to maintain productivity.