Like many farms, we have taken the paper pot plunge.
The paper pot system is a simple and efficient way to seed and transplant crops using paper chains that unravel through a non-motorized transplanting tool designed for one person to pull from a comfortable, upright position.
Developed by the Nippon Sugar Beet Manufacturing Company, Ltd., the largest sugar beet producer in Asia, paper pots took off quickly in Japan, where they have been in widespread use for years; they are relatively new to North America. Farmer and University of Wisconsin professor John Hendrickson stumbled on the system during a sabbatical year in Japan over a decade ago. He brought a transplanter home with him in his luggage and then started importing them for other growers to buy.
The system has cut our work by at least eight hours each week during transplant season, and we use it to transplant almost all of our crops except large plants like tomatoes and squash. Practically from the first chain I transplanted I was sold on the system. The tool cuts out the bending-over work of hand transplanting, is quick to learn (though it does take practice), and is satisfying to see in action: hundreds of plants can be transplanted in minutes if not seconds. While the tool is not for everyone, I’d like to share what’s worked for us.
First, a bit about the tools.
Paper pots, gravity seeding
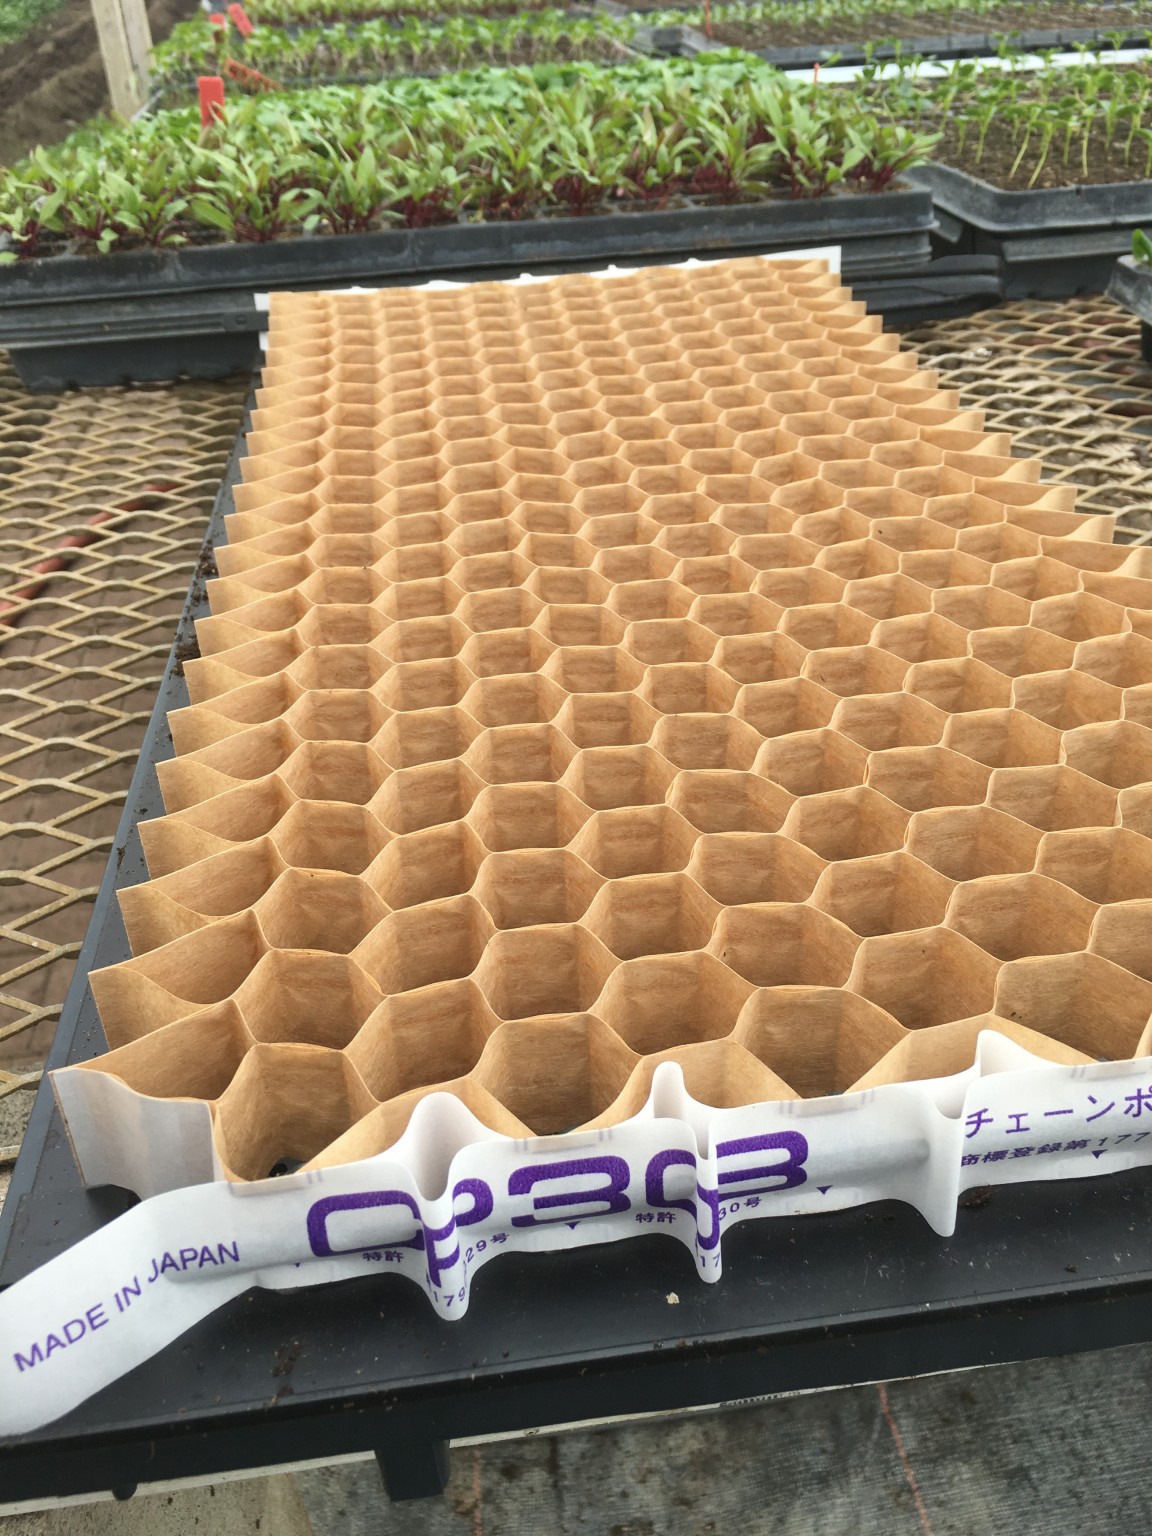
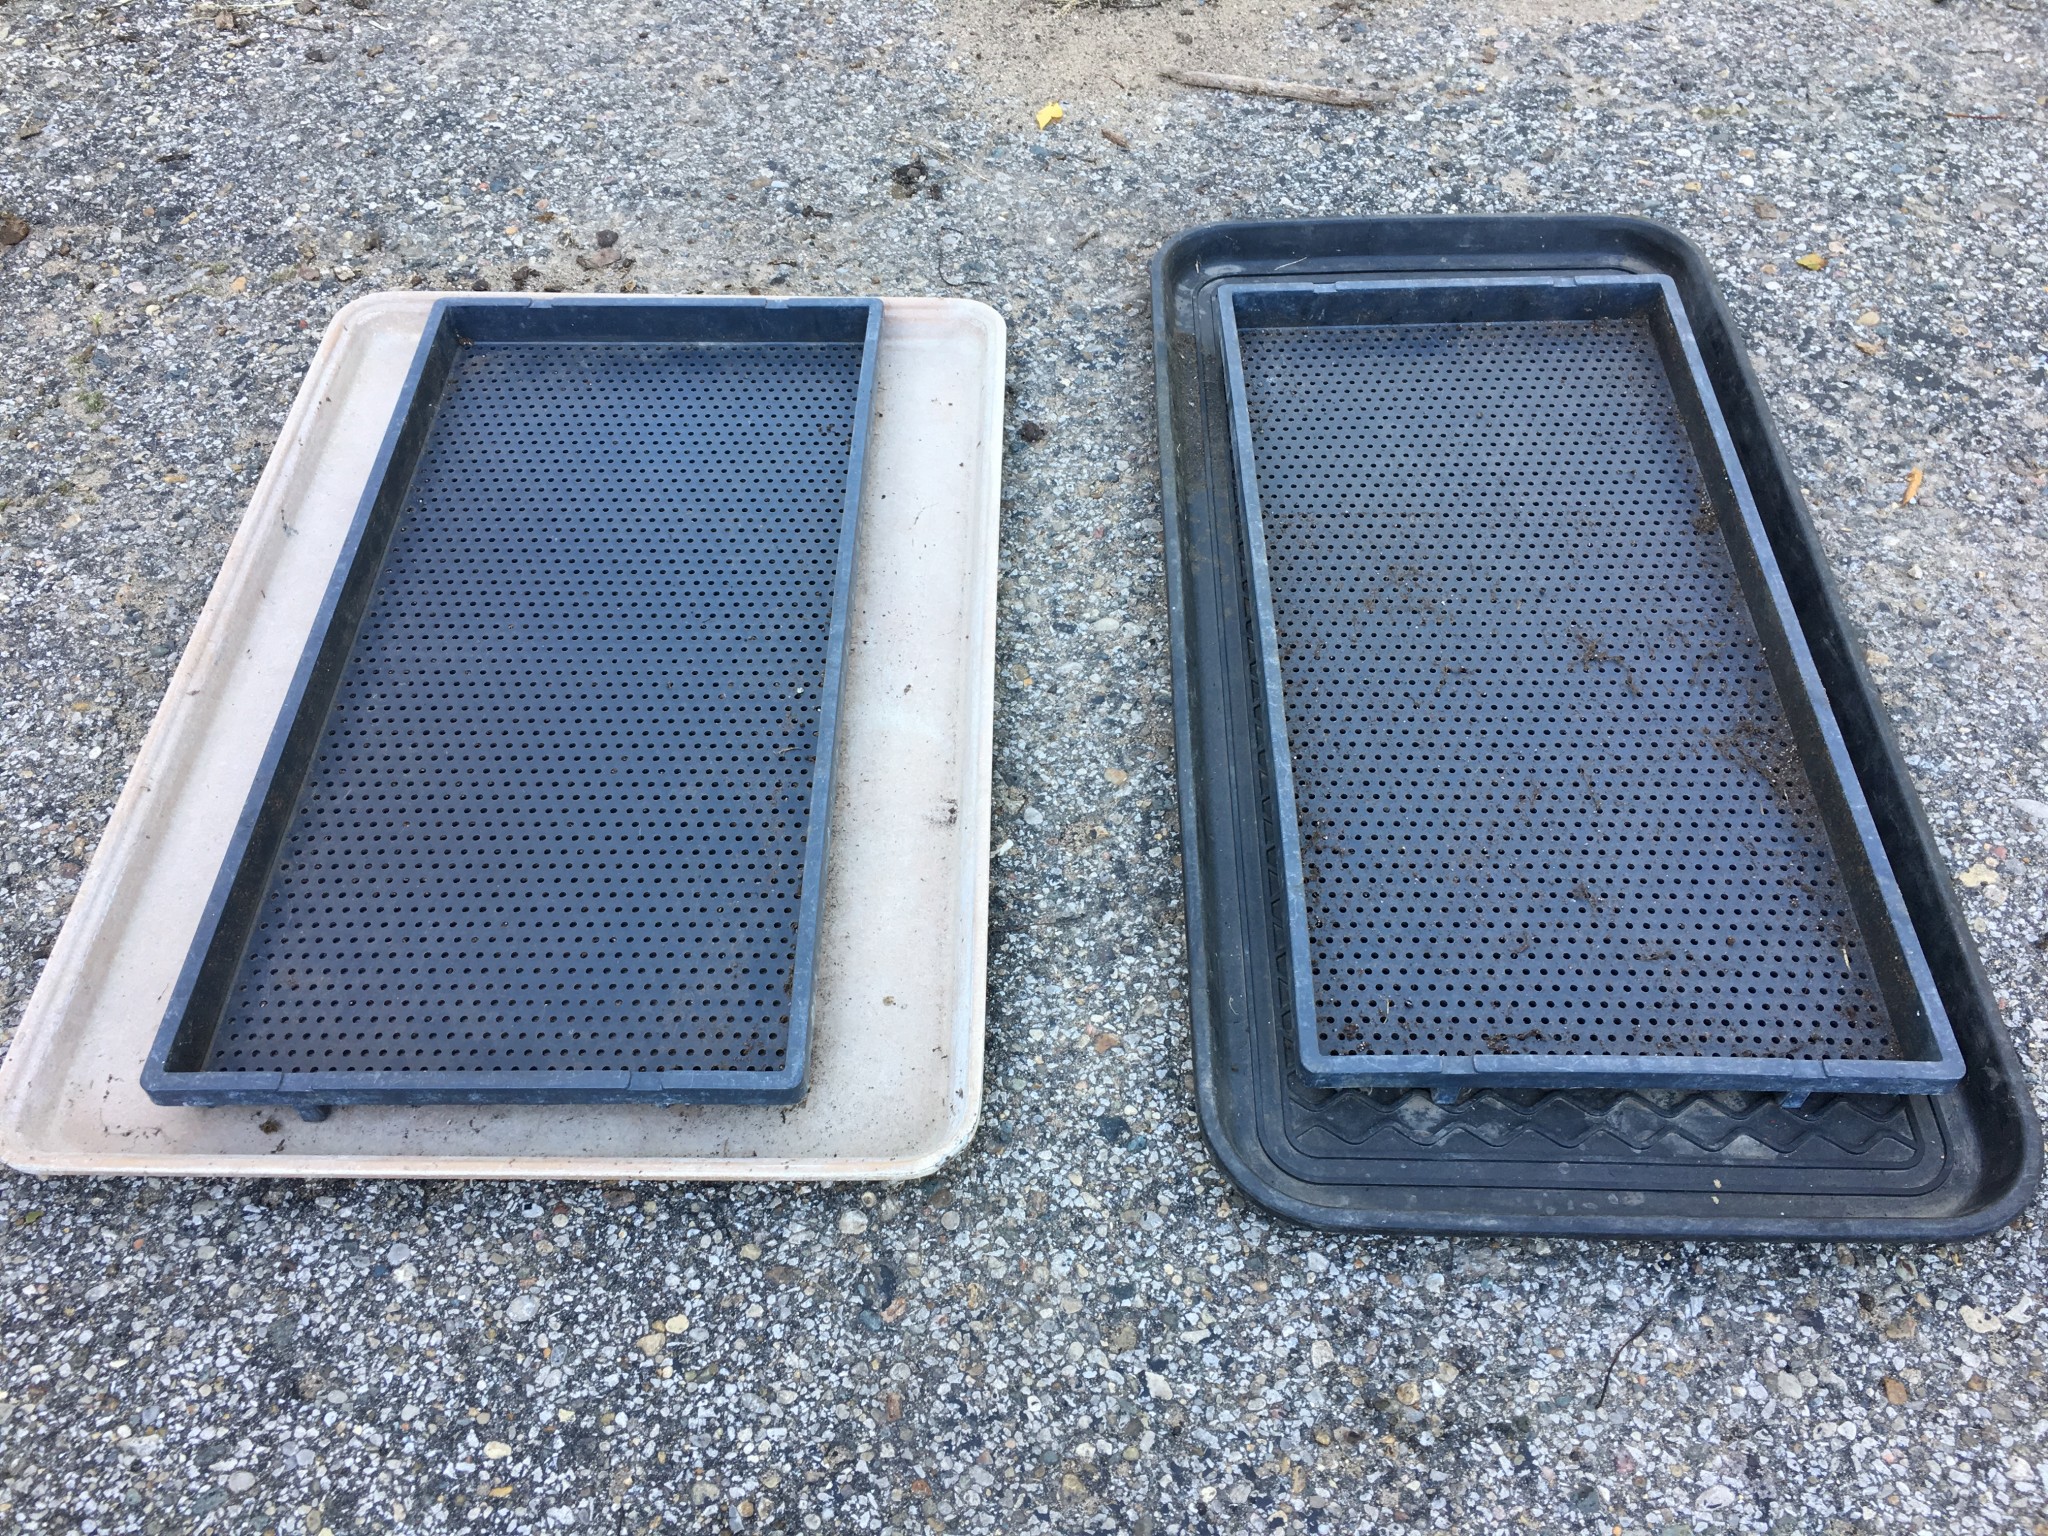
The paper chains arrive in the shape of a compressed honeycomb, which is opened with steel rods, inserted over a frame, and then dropped into a sturdy support tray, creating a flat of 264 cells, approximately 1.3” wide by 1.3” deep. The frame holds the paper chain open while the cells are filled with standard potting mix and seeded. The size of the support tray is approximately 12” x 24”, so paper chain trays are not interchangeable with standard 10” x 20” trays. The paper cells are open at the bottom, and the support trays are perforated, allowing roots to air prune. They stop growing once they reach the bottom rather than becoming twisted and rootbound as in plastic trays.
Several chain sizes are available, and the spacing of the plugs as they unravel varies. We use chains with 2”, 4”, and 6” spacing. Next season we plan to eliminate the 4” spacing, for the sake of simplicity. A dab of adhesive holds the cells together until transplanting time. If you are certified organic, make sure your certifier allows the glue for organic production. Most, but not all certifiers now approve it.
We fill the trays to the same density as with plastic trays. To speed the process we use a farm-built flat filler—a hopper that dispenses potting mix into the paper chains. We then use a plexiglass dibbler to poke 264 holes into the potting mix.
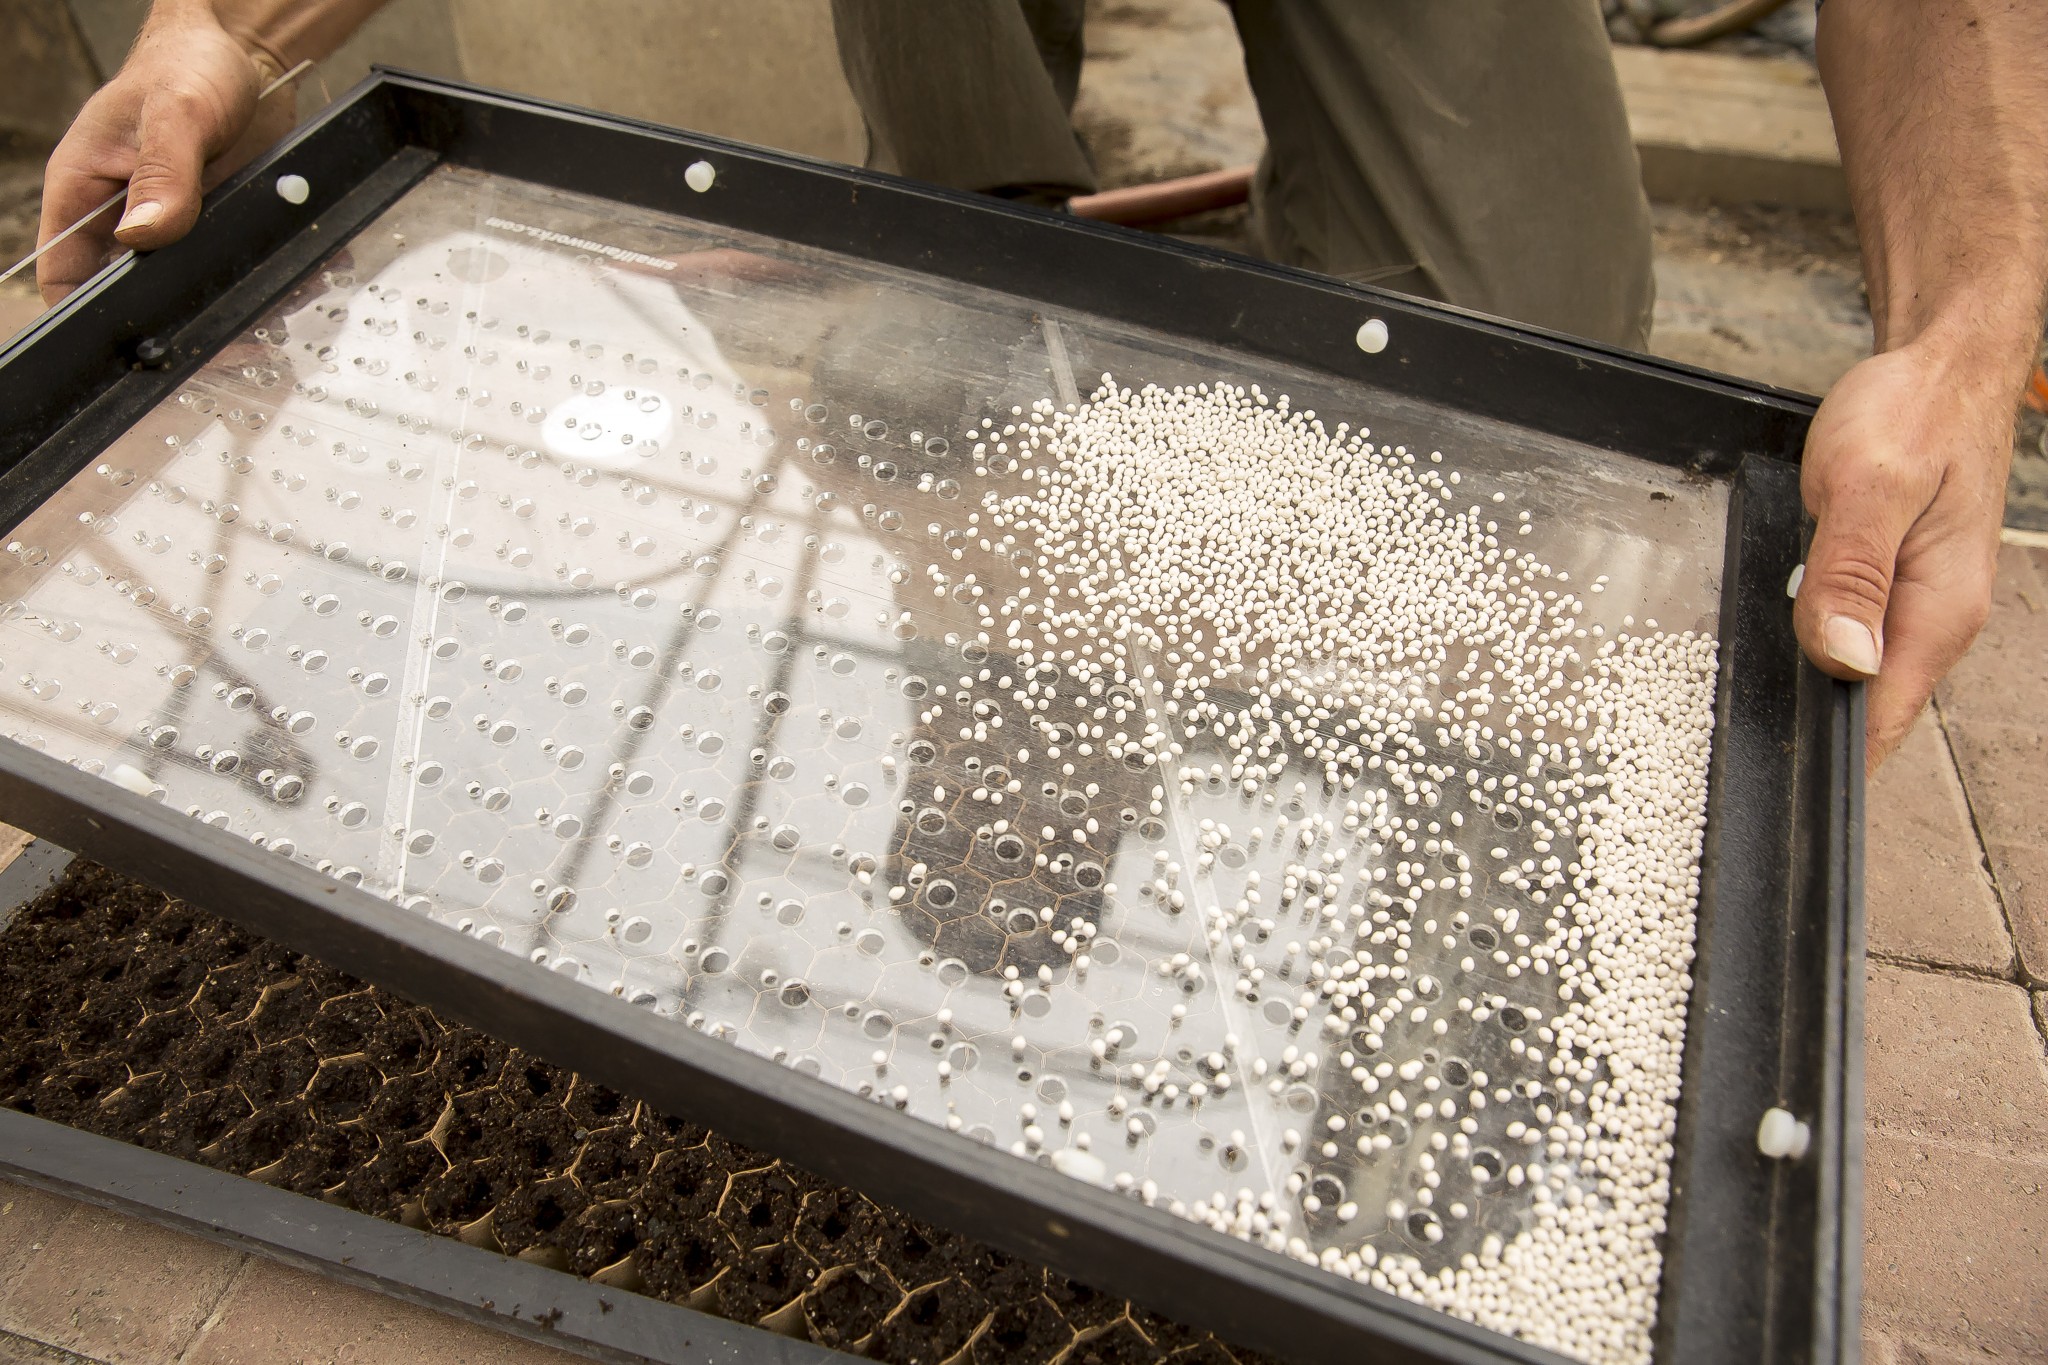
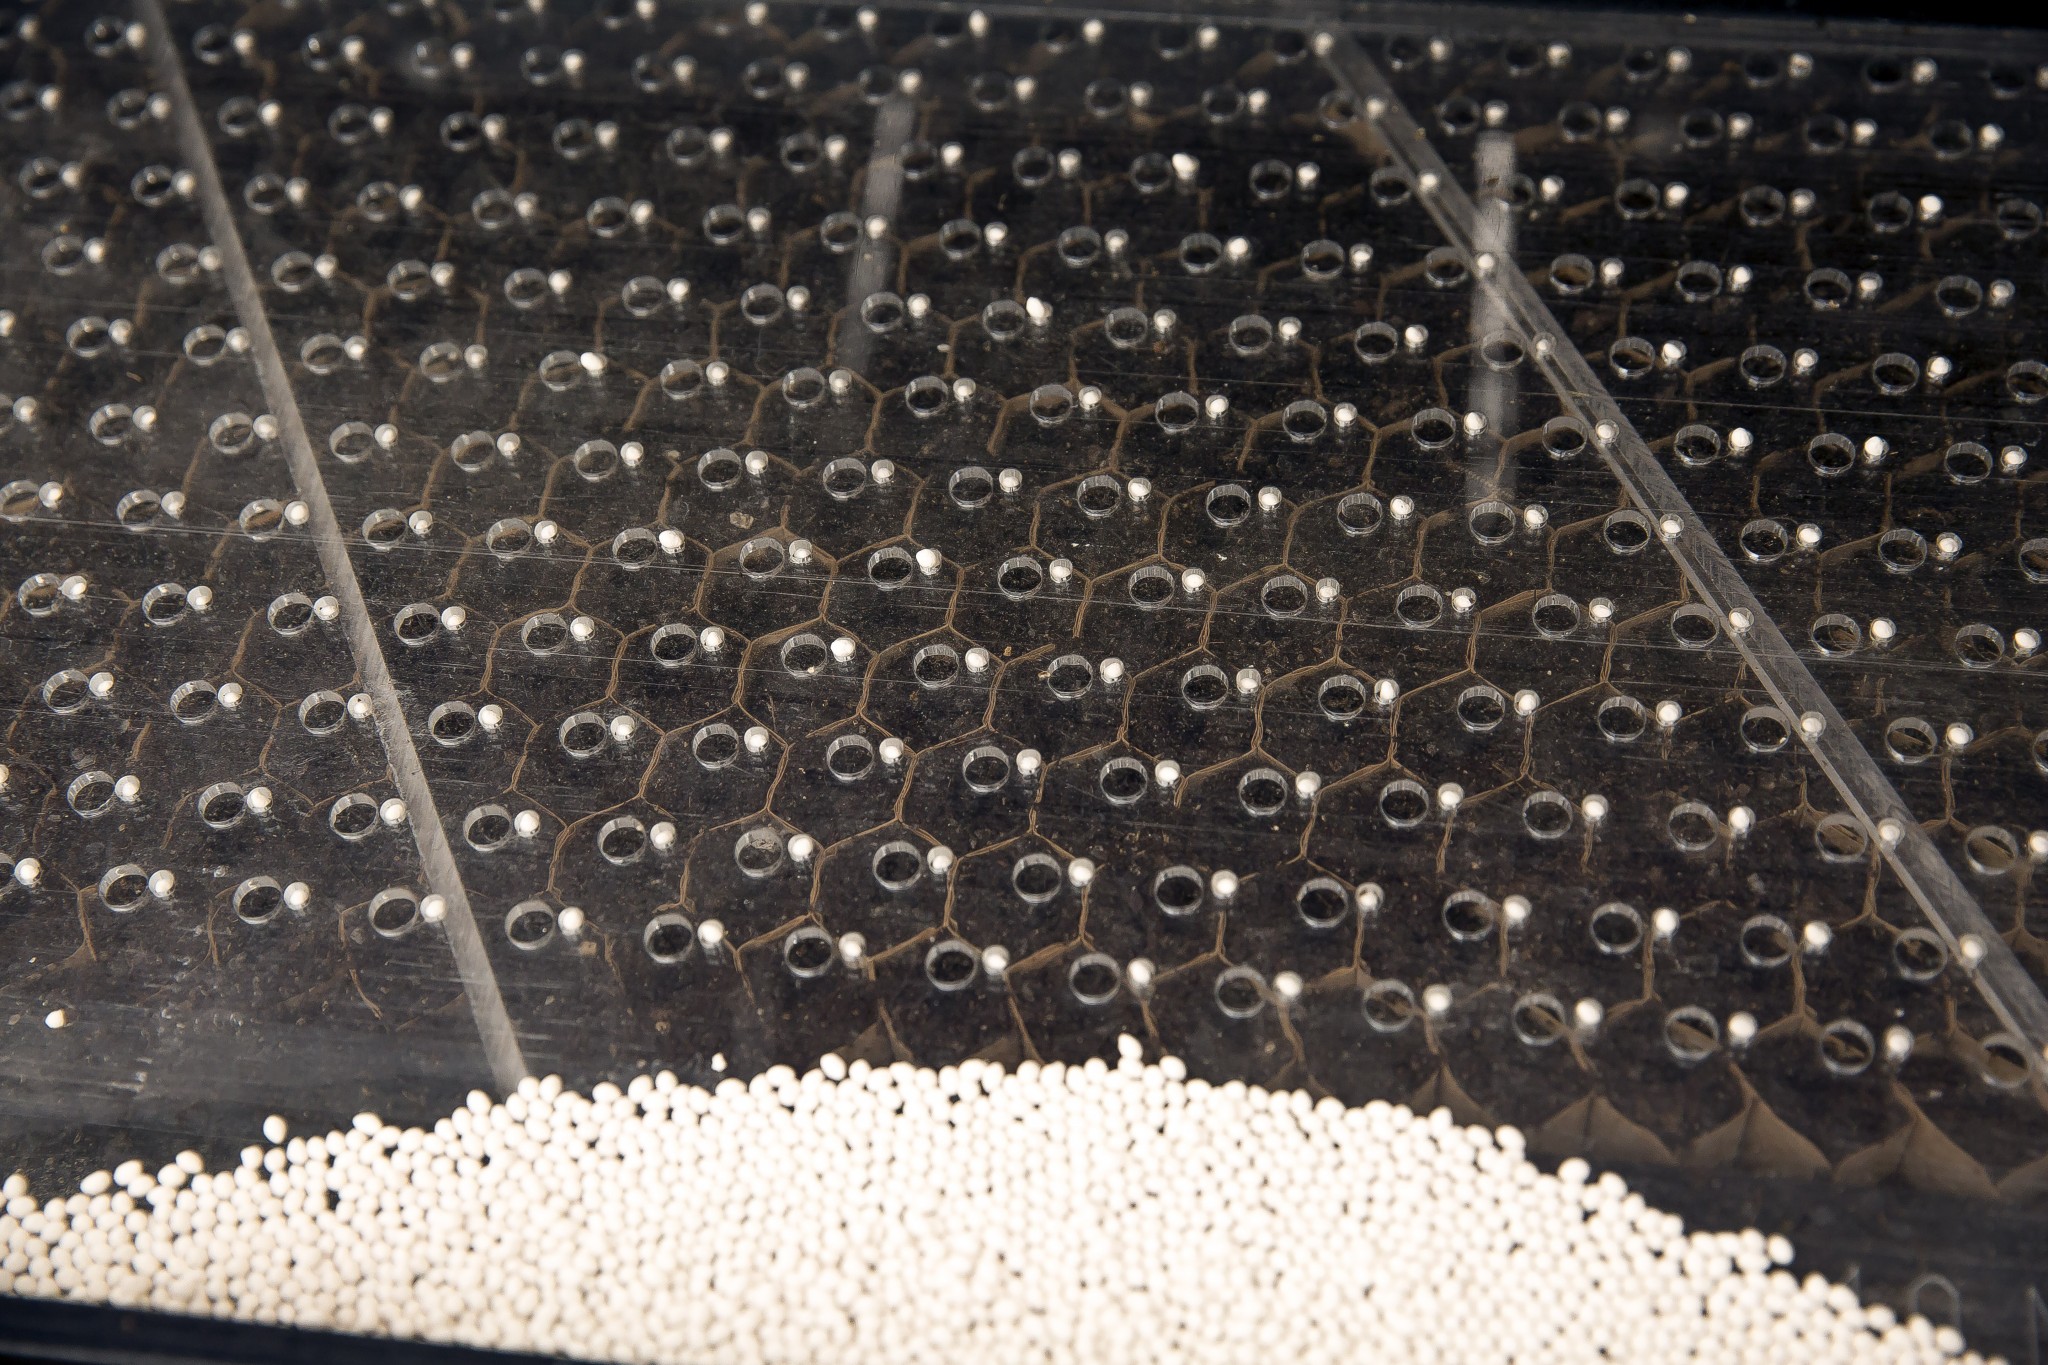
Next we seed with the two-plate plexiglass gravity seeder, a tool that quickly seeds an entire tray with one motion. The device is non-electric and features just three parts: a plastic frame plus the two 1/8”-thick plates. The bottom plate is fixed to the frame and is drilled with 264 holes that line up with the cells in the paper chains. The interchangeable top plate is initially offset and is drilled with another 264 smaller holes. We use three top plates with varying hole sizes to accommodate different seed sizes (see chart). We plant very small seeds by hand, not with the gravity seeder, because they fall between the plates.
After seeding, we sprinkle fine vermiculite over the tray and lightly water, as with plastic trays. All 264 cells do not need to be filled with one type of seed. We will frequently hand seed multiple varieties in one chain, as long they share the same spacing.
The paper pot system does not require the two-plate gravity seeder. You could seed all seeds into paper pots by hand and avoid purchasing the extra tool. Or you can use a vacuum seeder with seed plates sized to fit paper pot chains.
The transplanter
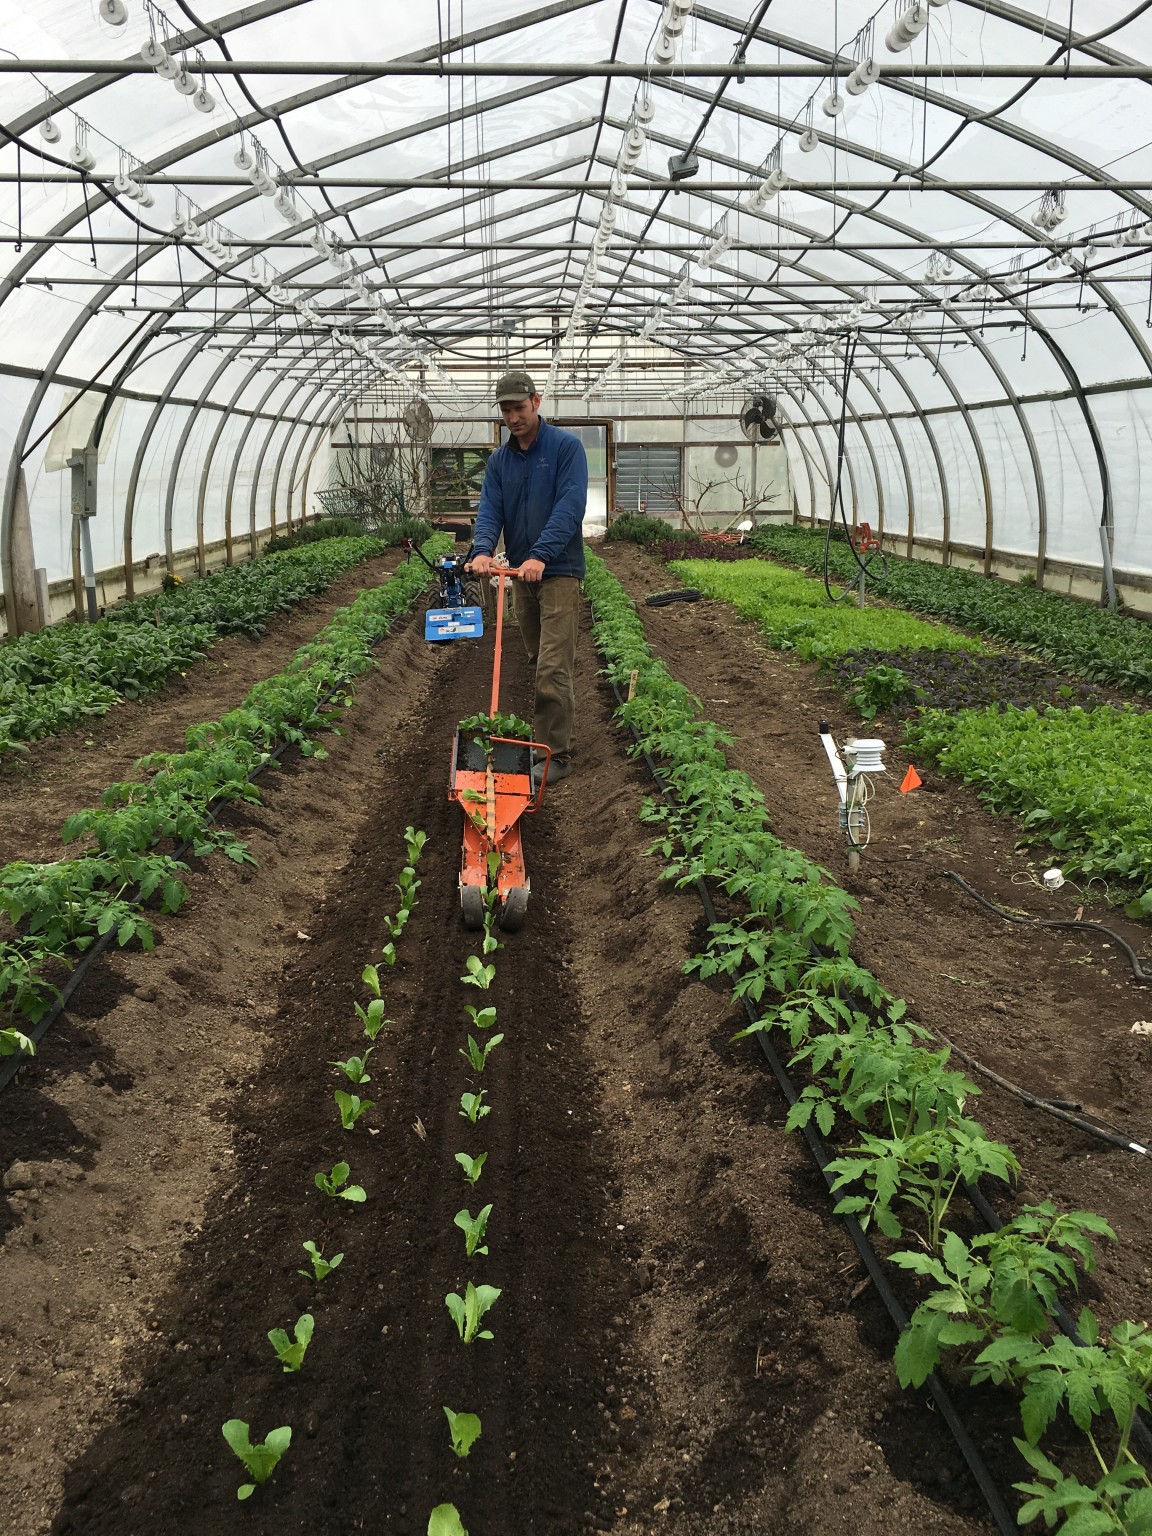
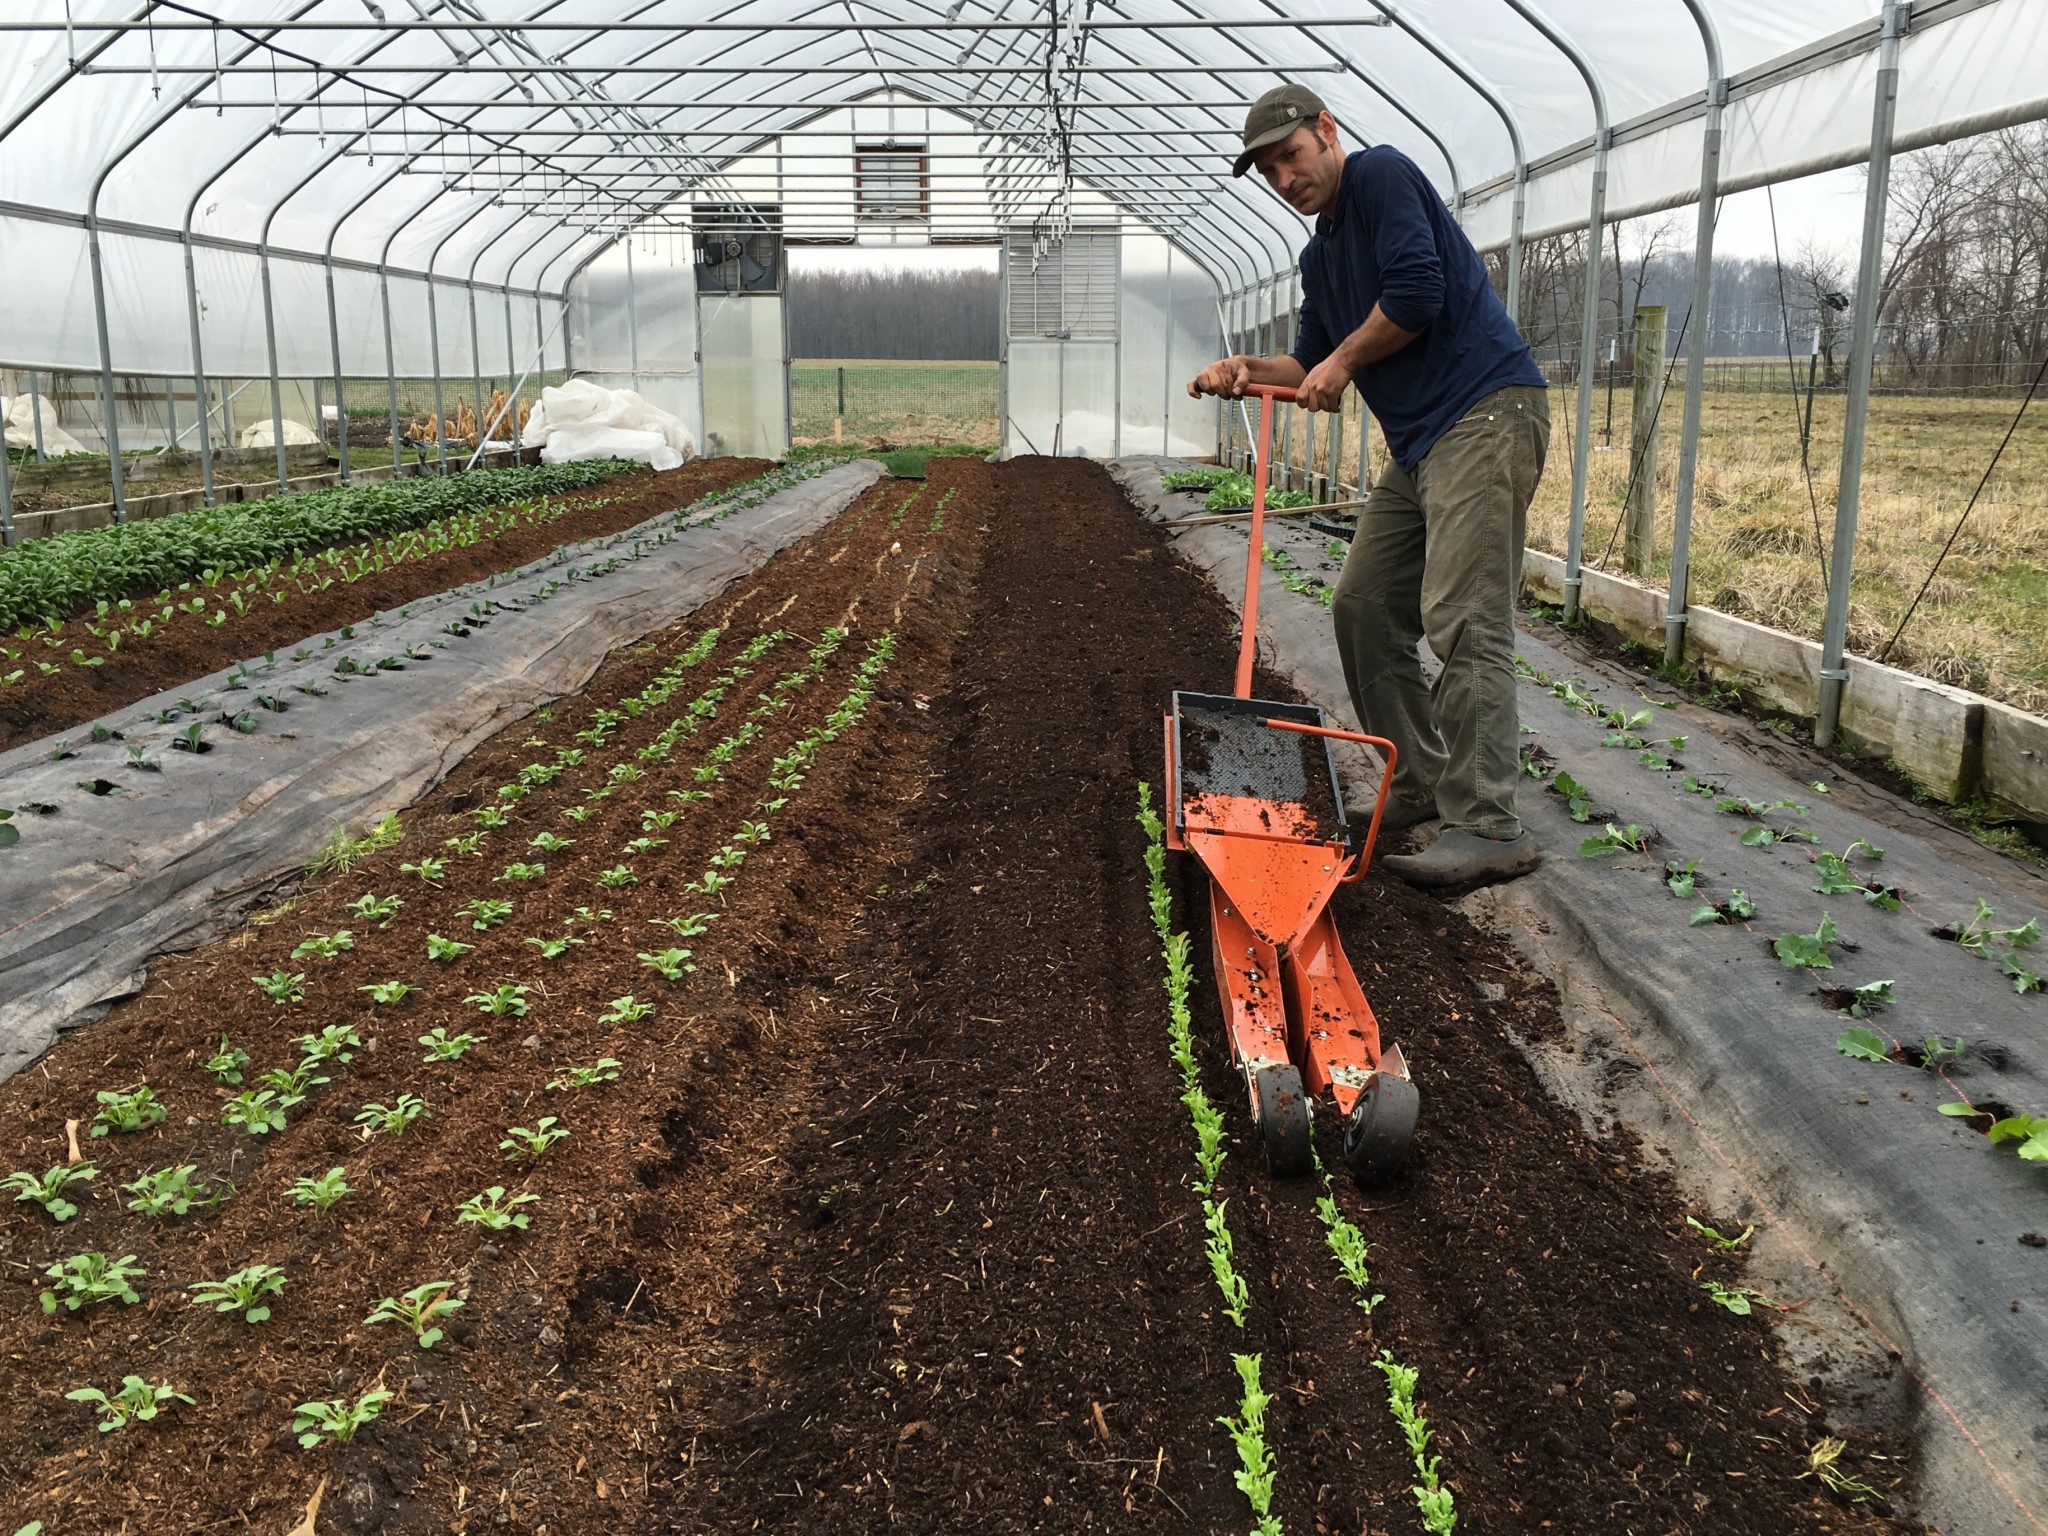
In Japan the name of the transplanter translates to “little pulling buddy.” The name is apt. Your primary action is to pull the tool as you walk backwards. Your “buddy” does everything else, cutting a furrow, unravelling your transplants, and packing soil around them. A few companies make different models. We’ve used the standard model made in Japan, sold through Small Farm Works, LLC, for several seasons, and it works well in our soil. The model sold through Johnny’s Selected Seeds, made by Terrateck SAS in France, is heavier duty for handling rockier soils and features more adjustment options.
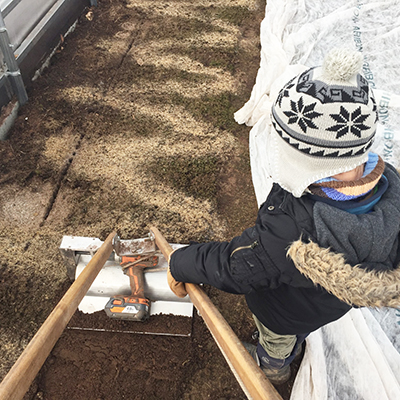
A furrower blade is fixed to the underbelly of the transplanter. In order to pull easily, the soil should be loose. We usually quickly till with our BCS ahead of the transplanter. We also make sure the soil is free of large sticks or clumps, as these can jam the furrower. We remove them by hand or with a bed rake. The furrower can be adjusted up or down and it might take a pass or two to figure out the right height for your conditions: too deep and you will bury plants, too shallow and you will leave them on the ground. We set the furrower as deep as it will go and raise the furrowing depth by adjusting the amount of pressure we put on the handle.
To load paper chains onto the transplanter, slip a steel bridge between the paper chain and the floor of the support tray. Before unraveling, we pull the transplanter a few feet to establish the start of a furrow. Then we unravel a few feet of the chain by hand and pin the first cell to the ground with a screwdriver or stick. To avoid the pinning step, you can also just pinch the first cell or two firmly into the soil. If you do this, pull out a row or two of the chain for slack as you start transplanting.
We can comfortably transplant up to five rows per bed, if needed. We start transplanting down the middle of a 30” bed. For this pass, it is easiest to straddle the bed. For three row crops, we then do a pass just inside either edge of the bed, walking with both feet in one aisle. For five row crops, we perform an additional pass between middle row and outer rows.
Top four paper pot crops
1. Hakurei turnips. Turnips seeded 3-4 seeds per paper chain cell will grow away from one another and still size up well. We grow them at 3 rows per 30” bed, 6” apart in the rows, and we make sure to cover them up with AG-30 row cover to keep out the pests. We don’t usually harvest an entire cluster at once but rather selectively harvest the largest turnips from the entire bed while the others size up.
2. Romaine and head lettuce. We grow romaine and head lettuce exclusively with the paper pot method. Romaine works well at 8” apart (seed every other cell in a 4” chain) or 12” apart (seed every other cell in a 6” chain). We use a 6” spacing for multileaf lettuces and small heads, and we seed every other cell if we want larger heads.
3. Green onions and shallots. Green onions and shallots, spaced perfectly with the paper pot method, will require no thinning. Higher-priced shallots, in particular, make an ideal paper pot crop. For years we would either direct seed or hand transplant these crops. But direct seeded onions and shallots always precipitated a battle with weeds. And hand transplanting just took a long, long time. We actually had quit growing these crops for a few seasons until the paper pot transplanter came along. Now they are part of our steady rotation.
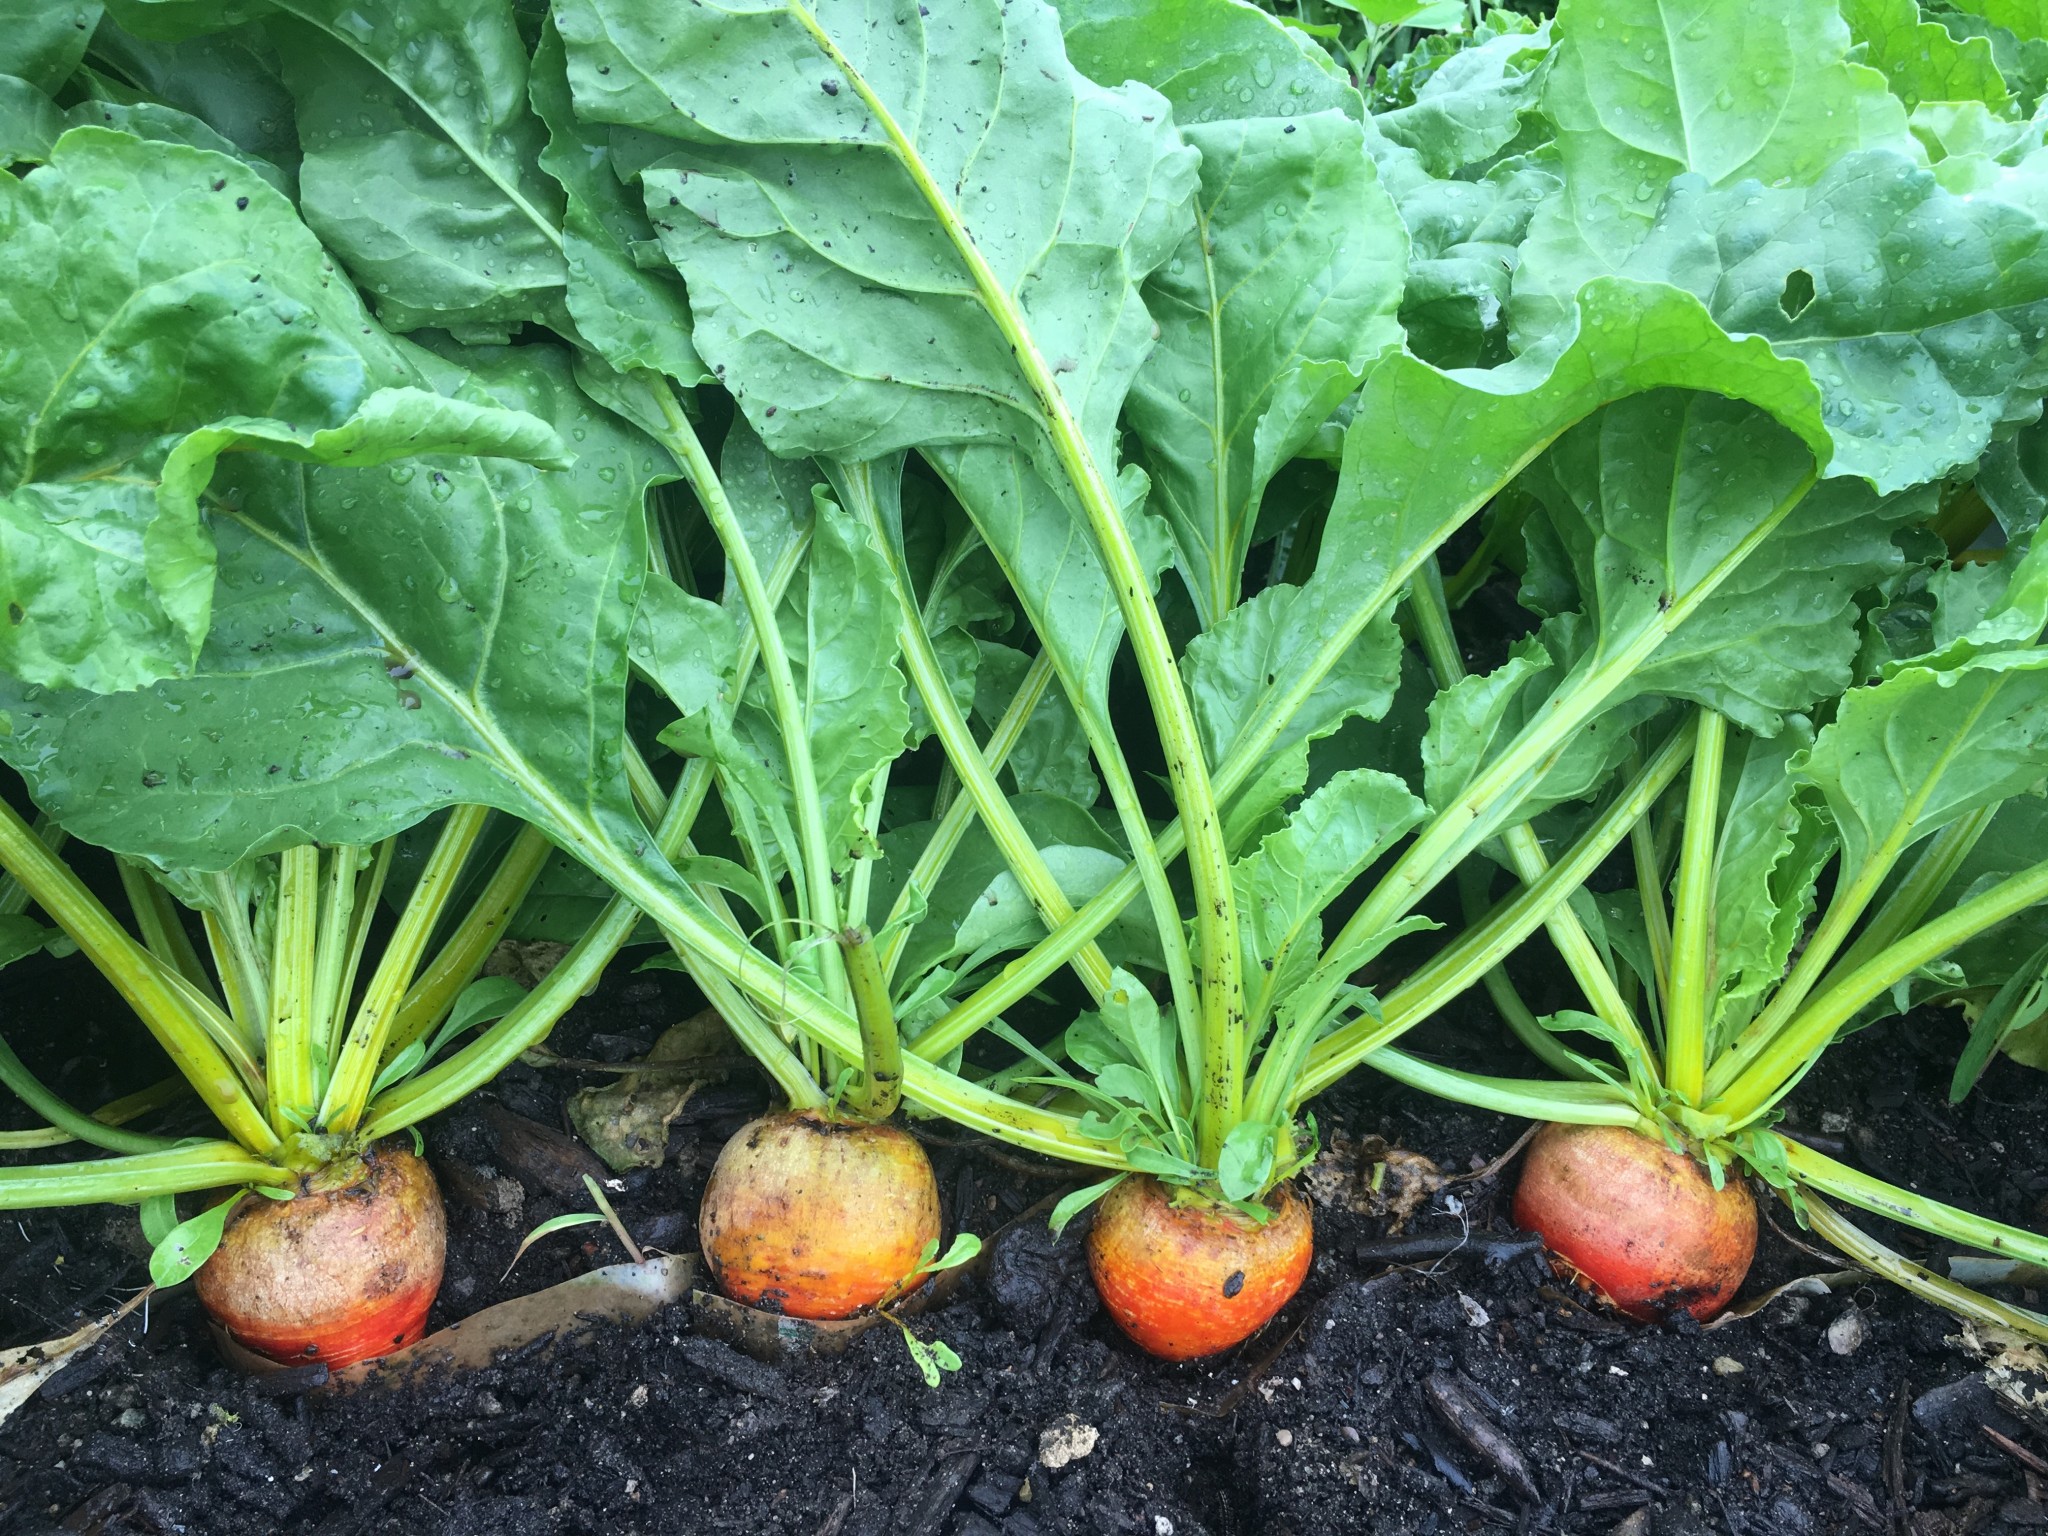
4. Beets. Direct seeded beets are finicky germinators. With the paper pot system, we germinate them in controlled conditions and eliminate thinning and almost all weeding. We space them either 2” or 4” apart, depending on the size our customers want, with 3 rows per 30” bed.
Other uses
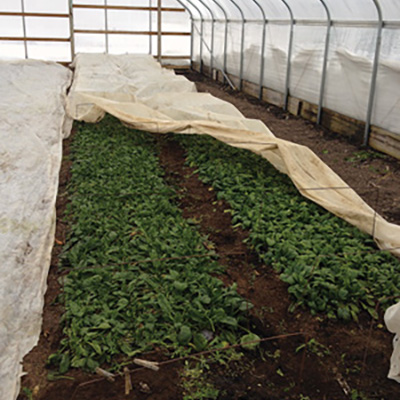
1. Winter greenhouse greens. When direct seeded, midwinter baby greens (those seeded November through January) in a cold frame or minimally heated greenhouse can take 12-16 weeks from seed to harvest in our area. Transplanted greens, on the other hand, can be ready in 8 weeks because they spend the first half of their life in a heated environment (in a propagation greenhouse or under grow lights). We consider the practice to be like “finishing” hogs or cattle. In the field and in the early fall greenhouses we still usually direct seed our baby greens.
2. Fall spinach. In northern Indiana the fall season is often too short to support a crop of outdoor spinach because soil temperatures are frequently too hot for reliable germination. So we seed spinach in a cool basement in mid-August and then transplant it in early September.
3. Green beans. We transplant beans because we can be assured of their germination, we can eliminate weeding, and we can extend their season, starting them in a germinating greenhouse a few weeks before they could be direct seeded. We transplant 2 rows per 30” bed. We seed a small amount every few weeks for steady harvests. We grow beans in the greenhouse, too. Green beans seeded in March and transplanted the first week of April in an unheated greenhouse give us a May crop weeks ahead of normal. We do the same for peas, edamame, and radishes.
We have used paper pots with carrots, but results have been inconsistent. Most carrots become twisted even when transplanted just after emergence, though we keep experimenting with varieties and timing.
Two final tips
1. Think of it as “direct seeding sprouted seeds” as opposed to transplanting. Paper pot cells must be transplanted young—often at two to three weeks of age—rather than waiting for six or seven weeks, as with most seedlings in plug flats. In practice, with most crops in the paper pot system we aim to transplant when just one or two true leaves form. It would be impractical to hand transplant such young crops by hand. However, the paper pot transplanter handles young transplants with little disturbance.
2. Presoak flats before transplanting. We use cafeteria trays filled with water to presoak the flats before transplanting them. Plastic boot trays, the kind used to protect floors from messy boots, would also work. The extra step all but guarantees success even with dry conditions. Standard cafeteria and boot trays are a bit bigger than the paper pot chains, and cafeteria trays are heavier than I’d like. We are still hoping for a manufacturer to take up the challenge of providing leak-proof support trays that perfectly fit paper pot flats.
The paper pot system is definitely not for everyone. I recommend trying it only after you have mastered propagation with plug flats. The paper chains cost $2-$4 each, depending on length, meaning that each tray that fails is a cost. But once you’ve mastered propagation, just one or two plants will pay for an entire chain.
Volume is also a factor. If you spend more than a few hours each week transplanting, and if your scale is such that you regularly transplant several hundred plants in one go, I recommend giving it a try. Less than that and the investment might not pay off.
I explain more about how we use the paper pot system—and I include a complete cheat sheet—in my new book, The Lean Farm Guide to Growing Vegetables. The book is an in-depth manual showing how to use the latest tools and techniques to set up and run a successful farm. We’ve been farming for 15 years, and this book shows what we’ve learned. We are by no means perfect, and I really don’t think there is—or should be—such a thing as a model farm. But I do hope the book inspires by showing how you can earn a comfortable living on a tiny scale, and with a reasonable amount of work, using a lean thinking approach.
Resources:
Berry Seeder Company: berryseeder.com (for vacuum seeder parts)
Paper pot Co.: paperpot.co
Sankou Kagaku: paper-pot.com
Small Farm Works: smallfarmworks.com
Johnny’s Selected Seeds: johnnyseeds.com
You can see a video of my flat filler on the Lean Farmers Facebook group.
This article is adapted from Ben Hartman’s new book The Lean Farm Guide to Growing Vegetables (Chelsea Green, 2017) and is reprinted with permission from the publisher. The book is now available from Growing for Market for $29.95 plus $5 shipping. Subscribers always get 20% off the price of books from GFM.
Ben Hartman and Rachel Hershberger own Clay Bottom Farm in Goshen, Indiana. They sell through two cooperative CSAs, to restaurants and at the Goshen Farmers Market. He is also the author of The Lean Farm, available from Growing for Market.

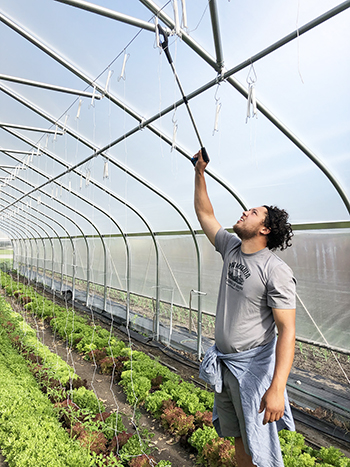 This month’s submission is from Dogpatch Urban Gardens in Iowa and it’s a simple one – a grabber being used to reach Tomahooks obviating the need for a ladder. It’s quite possible that many of you have already thought of this, but I had never seen this before. I love the idea and I don’t even use hooks…but I might after seeing this.
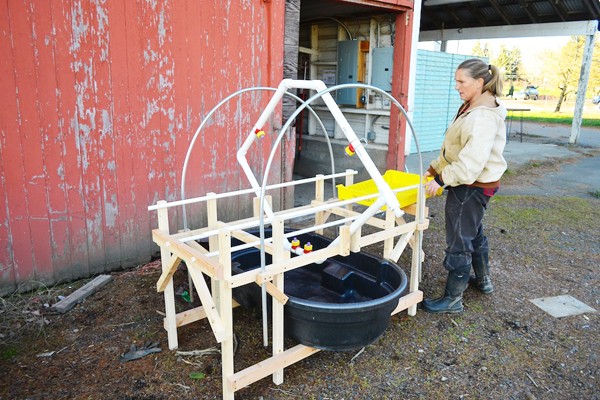 Like all of you, I’m always trying to make little improvements around the farm, and I’m never finding enough time to try all of my ideas. Last year I had the opportunity to rebuild the packing area at Cully Neighborhood Farm (CNF) and to also build three prototype pieces of furniture for a new packing shed at the North Willamette Research and Education Center (NWREC) for their small demonstration farm and to try out some of my ideas.
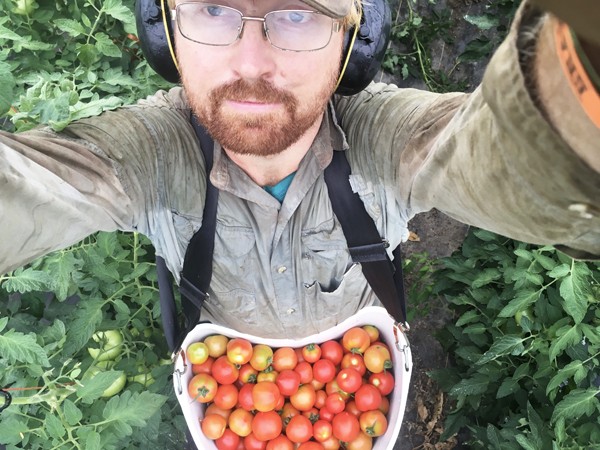 We regularly harvest into a half dozen containers on our farm. Bulb crates, flip-top crates, storage crates, pallet bins, five gallon buckets, and waxed boxes. Our new favorite receptacle, though, is vastly more ergonomic and hands-free, and has changed the way we pick several crops, making it faster and more efficient and enjoyable.

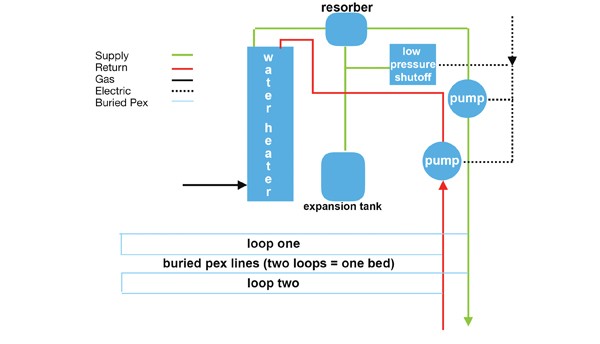 Do you want to be able to heat your greenhouse with radiant heat? Are you interested in being able to heat your soil to extend your season or even grow through the winter? In this article we will examine how we built a hydronic radiant heat system for our greenhouse, and how you can do this at your farm.
 A mile of gravel road crosses the Winooski River over an old covered bridge, leading to Cate Farm. On a beautiful clear bright summer day, the long and lanky Richard Wiswall saunters over to warmly welcome me. Even though it’s a Monday morning in July in Vermont, during what should be the busy season, he’s full of smiles and exudes warmth and ease. Instead of a stressed-out, disheveled grower, there is a composed and relaxed man greeting me.