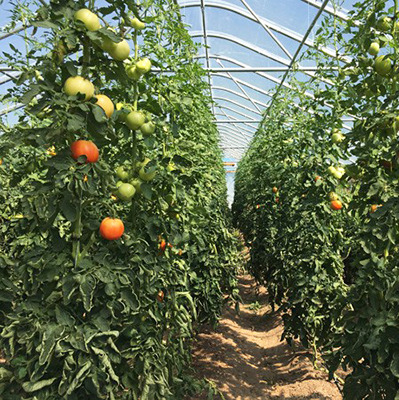
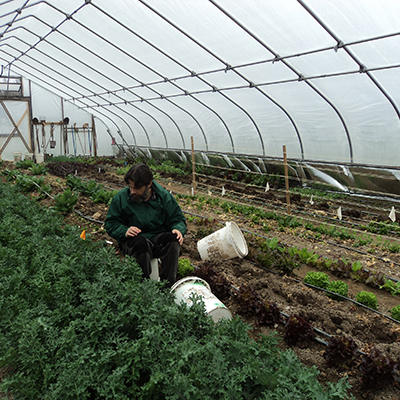
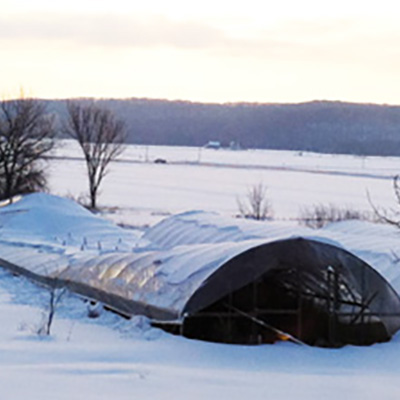
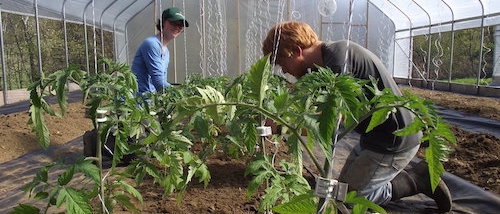
At the cutting edge of the local food movement is the challenge of providing fresh, local food even in the middle of winter. Growing in the winter costs more (greenhouses/high tunnels and row covers aren’t cheap), but when best practices are employed, might it still be possible for local growers to compete with out-of-region food producers?
On August 10-11 in Fairlee, VT, 25 growers with experience in winter production, along with 10 others representing seed companies, Extension programs, and universities, met to discuss these best practices. The group spent two days unraveling what in the past several winters has worked well, what hasn’t, and where we all need to spend more effort researching and experimenting.
The idea to pull together such a group came from Eliot Coleman, farmer, author, and long-time advocate of winter growing, who along with daughter Clara Coleman and Sandy Arnold (Pleasant Valley Farm, Argyle, NY) organized the gathering, called Frozen Ground.
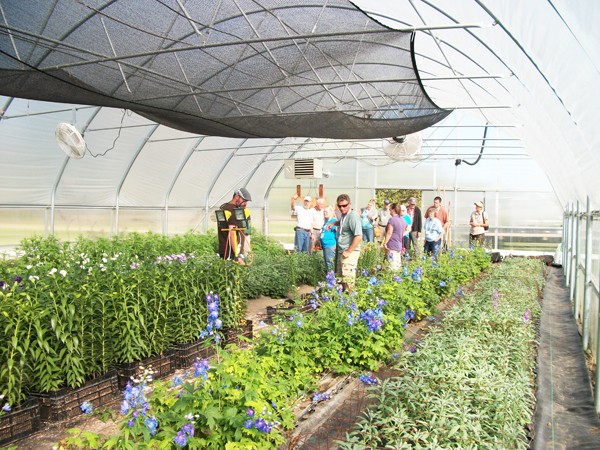
 Participants in the Frozen Ground conference in Vermont, August 2014. Eliot Coleman is front row, center, in blue shirt, and Clara Coleman is left of her father. Sandy Arnold is standing, second from right.
When aspiring farmers visit our place, I am often asked, “Where’s the best place to learn how
to farm for a living?” My answer: “There is no substitute for learning directly from other farmers making a living from their food.” So I was eager to hear from this group of winter farmers, as well share our own experience. Winter growing is a significant and growing part of our farm sales (in the January 2014 issue of GFM I wrote about how our crops fared this past winter).
So, what worked? In general, growers found greenhouse-grown spinach, kale, arugula, swiss chard, and Asian greens (baby and full size) to be consistent winter performers. Of these, spinach was the favorite, and some farms in the winter grow spinach exclusively. Baby lettuce and head lettuce is less hardy, but with good management (see below), possible to grow. Some growers took fresh greenhouse radishes, turnips, carrots, leeks and other hardy crops to winter markets, while others said they preferred growing these in the field in the Fall and cold storing them for winter sales. These growers saved the greenhouses for higher-dollar-value greens. In general, kales and lettuces for full-size production were seeded in August and transplanted in September, while crops for baby production were seeded successively for 2-4 weeks starting mid-September. Johnny’s Selected Seeds has developed a handy chart to help you figure out ideal seeding times for your area, available at johnnyseeds.com.
Warning: the seeding dates above are general guides (most growers were in zones 4-5). Don’t take them to heart! The dates that will work best for your farm will be specific to your exact zone/microclimate and conditions (for instance, whether you have no heat, ground heat, or air heat). And keep in mind that winter weather varies considerably from year to year. The best practice to increase your chance of success is to sow crops over a 2-3 week period, then take notes! One of the most-used charts on our farm is what I call our “seed-to-harvest” chart—a record of dates we seeded and then harvested our winter crops. Now, if I want to plan for a spinach harvest in mid-March, I know when to seed. (The Powerpoint link at the end of the article includes our winter greens seed-to-harvest chart.)
Just as important as crop selection and seeding dates, however, is proper management during harsh winter weather.
Farmers are a creative lot, and every farmer at the gathering seemed to have a unique management approach to the common problems of cold temperature and low light levels. Even so, there was some common ground. For growers wanting to improve their success rate in the winter, or those wanting to start tinkering with winter production, below are eight management tips that experienced growers use to guide their winter production.
1. Ventilate, ventilate, ventilate.
A challenge with greenhouse growing any time of year is high moisture, which leads to condensation on leaves and high incidence of foliar disease. The problem is exacerbated in the winter because of shorter days and lower light levels.
How does condensation work? According to Vern Grubinger, vegetable and berry specialist at the University of Vermont, “Warm air holds more moisture than cold air.” In the winter greenhouse, Grubinger suspects that “condensation may occur in the evening as air cools and moisture drops out.” Since nights are long, that condensate sits around for quite a while, leaving plenty of time for foliar diseases to develop.
The remedy is air exchange—pushing wetter air out and pulling drier air in. Some growers said they prefer “leaky” greenhouse rather than tight greenhouses, others keep a top shutter open all winter. We turn our endwall fans on regularly to exchange air.
Anytime a greenhouse leaks, you lose heat, but far worse to lose an entire crop to mold for lack of fresh air.
2. Keep inner covers as close as possible to plants.
Growers differed a lot in how they used inner covers and what type of covers they used, though after a lengthy discussion it was generally agreed that the closer a cover is to the crops, the better. The principle is simple: an inner cover is essentially a thin layer of insulation trapping heat released from the soil close to your plants. The less air space to keep warm, the better. One grower put it this way: “Would you be warmer with a blanket directly on top of you or suspended a foot over your body?”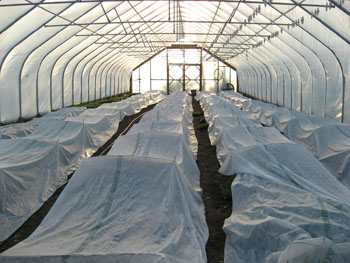
Most, if not all, growers used some type of wire supports to keep row covers suspended above fragile new transplants like kale, chard, and lettuce. But beyond that practices varied widely. A common approach was to float covers one foot to 18” above crops to avoid damage from covers freezing onto plants. But others float covers directly onto their greens even in freezing temperatures, taking care not to remove them until plants have thawed.
The weight of inner covers varied among growers too, though most preferred a mid-weight cover (like Agribon 30) because that weight is strong enough to handle without ripping while still allowing some light through. A good practice is to add layers as the weather gets colder. At Pleasant Valley Farm, the Arnolds use one sheet when temperatures are in the 30s, two in the 20s, and 3 below 20°F. Once again, though, what works varies. It is worth experimenting on your farm with the height of your covers, the weight, and the number of covers needed to protect your specific crops.
3. Uncover inner covers on sunny days.
There are several reasons growers said it is worth the effort to remove row covers on sunny days:
Plants receive a maximum amount of sunlight, encouraging darker leaves and healthier growth.
The soil gets direct UV exposure, causing it to warm. When the covers are replaced at night, that warmth is released into the air between the ground and cover to keep the crop warmer
Improved air flow. More air movement means less condensation, which means less disease. Horizontal Air Flow (HAF) fans help reduce condensation and keep row covers drier.
Less risk of freeze up. Condensed moisture left on plants going into below-freezing nights can turn to ice, which will kill some plants and damage others. It’s better to dry off plants as much as possible going into arctic nights by uncovering row covers during the day, thus exposing leaves to drying air. For the same reason, it is important to keep row covers dry by removing them when irrigating.
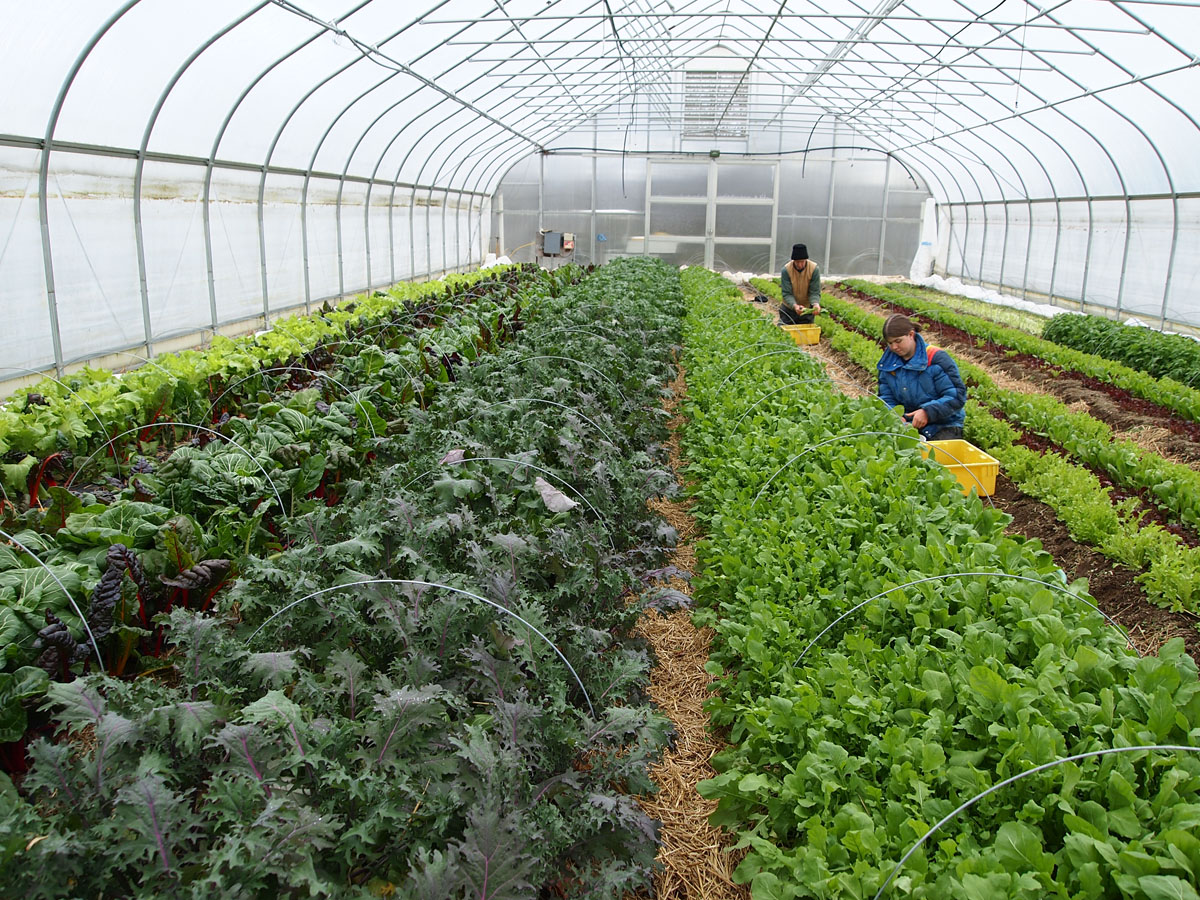 Paul Arnold and his daughter harvest greens in a high tunnel at Pleasant Valley Farm.
At a minimum, covers should come off two to three times per week, even if there is no sun.
4. Harden off plants in the fall.
Your plants will survive the depths of winter best if they are exposed to colder and colder temperatures as winter approaches. Some growers leave end walls open on cold nights, others keep their entire greenhouse (even sidewalls) open until the last possible moment (when the air becomes so cold as to damage crops). Depending on the crop, this was generally around the mid- to high-twenties.
Tom Stearns, owner of High Mowing Seeds, reported on test plots in a greenhouse in which staff at High Mowing tried to kill hardened-off lettuce via cold exposure. The temperature in the greenhouse was allowed to dip to 20 below zero, and they found several varieties that survived, even without row cover protection (the greenhouses were closed so there was no wind). Spinach was impossible to kill.
5. With supplemental heat, average temperature is what counts.
Growers using supplemental heat are looking to boost re-growth rates in their plants as well as protect plants from extreme cold. Growers reported using a wide range of low temperature settings for air temperature—from the mid-twenties (for hardy greens) to 64 degrees (for microgreens)—in order to encourage speedier growth. It was generally agreed that 28 degrees was a “safe” low for most cold hardy varieties.
However, it is the average temperature in a 24 hour period that will determine plant growth, not the high or the low. This principle can be applied to save on heating costs.
If you are looking to boost re-growth, it might pay to turn heaters on during the day--for example, by heating a greenhouse from 50 degrees to 65 degrees. This raises the average 24-hour temperature more economically than turning heaters up a similar amount at night when temps are colder and air is more expensive to manipulate (though you still want to keep plants alive at night!). Some growers use supplemental daytime heat to warm the ground enough to prevent the ground from freezing at night.
In general, growers using supplemental heat found that plant re-growth was indeed faster (in our case, 2-4 times faster) than in unheated greenhouses, but since heating costs vary widely (we have relatively affordable natural gas), there was no consensus on whether or not extra heat pays off.
Another practice growing in popularity is to bury hot water lines (black poly lines are sufficient) 18” below the soil surface and run hot water (around 110 degrees) through the lines as a way to heat the soil. Heaters ranged from geothermal systems to boilers (gas, wood pellet, corn, etc.) to tankless hot water heaters to hot compost heaps (in which black poly lines are coiled in the middle of a compost pile that sits just outside of the greenhouse—heated water is circulated with a pump). Results with these systems were mixed, with some growers reporting success, and others warning that heated ground equals moist air releasing from the ground, causing condensation problems I talked about in point #1. Some growers using ground heat said that for winter greens they prefer to keep the ground heat off during the darkest months of the winter when condensation is especially problematic. Plus, heat alone does not make plants grow, you need light, too. So boosting heat too much when days are short and cloudy is a waste of energy.
6. Use plastic mulch.
In the same way that plastic mulches warm field soils, increase earliness and increase yield, those same plastics heat winter greenhouse soils, increasing growth in the winter. The added benefit for winter growers is that the plastic traps mildew-inducing moisture in the soil (remember, when soil warms, it releases moisture in the air).
Of course, plastic won’t work with closely-seeded baby greens, but for head lettuce, kale, and other transplanted crops, plastic increases earliness and yield. Some growers even transplant spinach into plastic, using plugs that contain 3 seeds per cell.
If you are growing summer crops in plastic in your greenhouses, you can reuse the same plastic for winter crops! Just pull your summer crops, poke new holes, and plant.
The two types of plastic being used in this way are the IRT (infrared transmitting) plastics and black plastic (biodegradable and non-biodegradable). IRT plastic is pigmented (usually green or brown) to allow some UV transmittance, which does a better job of heating the ground while still minimizing weed growth.
7. Plan ahead for chickweed.
An audible groan must have been heard across Vermont when the subject of chickweed came up. The sprawling weed is the nemesis of winter growers because it loves the cool, low-light conditions of the winter greenhouse. Though there was no Holy Grail solution for chickweed control, growers offered several techniques to try:
Flame-weed: Prepare your beds after summer crops, then wait two weeks, which allows chickweed to germinate, then seed directly over the chickweed. Before your winter crop germinates, torch with a flame weeder. Multi-torch flame weeders are available at flame-weeders.com.
“Cook” chickweed by covering ground with clear plastic in late summer.
“Freeze” chickweed by leaving greenhouses open during the coldest part of the year.
Use plastic mulch (see #6 above).
Use wire weeders and weed early, when the winter crop is only 1-2” tall and the weeds are in white thread stage.
Prevent seeds blowing in from outside the greenhouse. On our farm, we mow around all of our greenhouses for this reason.
Test compost for weed growth before spreading it in the greenhouse.
8. Manage fertility but keep nitrate and salt levels in check.
Growers using their greenhouses for summer production often want to boost soil nutrient levels to maximize yields of summer crops. According to Grubinger, “While winter crops still require an adequate supply of essential elements, they do not require the high nutrient levels needed to support fast-growing, large biomass crops of summer.” Those high nutrient levels—especially excess nitrogen—can be a problem for winter crops.
Most field soil tests will not reveal nitrate levels, since they change rapidly depending on environmental conditions. Nitrates are inorganic ions that occur naturally as part of the nitrogen cycle. When microbes break down animal wastes, ammonia is created, which then oxidizes into nitrates. Nitrates are required for plant growth, but excess nitrates can stunt root growth, and plants that take up too much nitrogen invite pests like aphids.
Grubinger’s advice is to test your greenhouse soil for nitrate-N by requesting a separate soilless media test, often called the saturated media test, which is designed for potting soils. This test is available from most land grant soil test labs, and it also measures the level of soluble salts.
The simplest solution to managing nitrate and salt levels is prevention—take soil tests regularly, and adjust fertility practices accordingly, which usually means dialing back your usual rate of fertilizers and other amendments. On our farm, we discontinue manure-based composts in the winter greenhouses. Other growers “flush” excess nitrogen and salts by irrigating heavily before transplanting winter crops.
In the greenhouse salts can become a problem because there’s no rain and snow to leach them out of the soil. Salts include many of the nutrients that are contained in compost, manure, and fertilizers, and salts can be found in irrigation water. Over time, these can build up to levels that can injure plants. Salts are most pronounced at the surface level as water evaporates and leaves them behind, so they show up as white specks on the soil surface.
Grubinger suggests that growers test their irrigation water to determine its salt content. “When you change the plastic,” says Grubinger, “leave it off for a period of time to allow salts to be flushed away by rain.” It requires a lot of water to leach excess salts through flushing and drainage. If salts are not extremely high, another solution is to dilute them with the addition of new soil or peat moss. An extreme measure would be to replace the top couple inches of soil.
There wasn’t time in the two days to cover everything related to winter food production. I yearned for a lengthier discussion of whether taking extreme measures in the winter (especially using expensive alternative heat systems) was truly paying off. I talked to one farmer who told me that while winter greens didn’t lose money, they didn’t make a lot either: he used them mainly to draw in customers to purchase more profitable storage crops. For others, however, sales of winter crops rival sales in the summer, with some winter greens in unheated tunnels giving returns of $8-9 gross per square foot.
Competition for summer market growers is getting tougher and tougher every year. Many areas are saturated with growers and at the same time there are more new growers coming on every year. In areas where summer production is crowded, winter growing offers a promising new market.
While winter growing is relatively new, it is out of its infancy, and meetings like Frozen Ground should help motivate seasoned growers to keep working out winter production kinks while giving new growers solid information as they get started.
For additional resources, many of the Powerpoints from this conference are posted at http://www.uvm.edu/vtvegandberry/WinterGrowingConference2014.html. An excellent guide to get started in winter growing was written by Becky Maden (Intervale Community Farm, Burlington, VT) for High Mowing Seeds: http://www.highmowingseeds.com/blog/growing-and-storing-for-winter-markets/. Vern Grubinger can be reached at [email protected]. Sandy and Paul Arnold can be reached at [email protected]. Many of the farmers who attended the conference would be glad to give more information; see the Powerpoints for their contact information.
Ben Hartman is the co-owner of Clay Bottom Farm in Goshen, Indiana. He is the author of The Lean Micro Farm, The Lean Farm, and The Lean Farm Guide to Growing Vegetables.

 As soon as we start driving our routes in the spring our customers ask us when we’ll have roselilies. They’re that popular and have become a signature crop for us. They’re basically a type of oriental lily, but with multiple layers of petals, and without stamens and pistils (i.e. no pollen!).

 Prairie Garden Farm has been growing cut flowers for florists and studio designers since 2010. As we’re on an exposed hillside in west-central Minnesota, we’re dependent on protected culture to grow quality flowers. This article describes our approach – planning, financial, and operational details - that helps us make the most of our structures.