Microgreens are becoming a more common ingredient in all kinds of cooking. Someone has to supply all those micros I see garnishing dishes in restaurants, sprinkled in salads and even being sold at farmers markets. The mainstreaming of microgreens has expanded a market that local growers can sell into year-round with minimal heated space. A commercial amount can even be produced indoors under lights.
My first exposure to microgreens was over a decade ago, working on a farm that was selling them to high-end restaurants. I hadn’t heard of them before and thought they were kind of silly, until I found out the farm was getting $30-40 a pound for them. More recently, I have noticed them on plates in not-so-fancy restaurants as well.
On the farm, there was some controversy over what exactly a microgreen was, but for most varieties we were trying to cut a plant with cotyledons and 1-2 pairs of true leaves. In practice, we cut whatever was available to fill orders. Sometimes we cut at the cotyledon stage, and sometimes we cut slightly bigger greens with more true leaves in order to make weight.
Depending on how customized the finished product is, your customer may want a particular size. For example, some wholesalers are very specific, having listings for cotyledon-stage microgreens, or for larger ones with more than two true leaves. If unspecified, find out if a potential customer wants micros on the nano side or more on the macro side.
It may seem like growing such small plants for such a short time would be easy, but there are better and worse ways to do it. I have seen plenty of messed-up microgreens.
The most common problem I have seen is rotting in the tray before the plants reach harvestable size. Since yield is maximized by planting each tray as densely as possible, the tendency is to plant too densely. Density needs to be adjusted based on the variety and growing conditions. You need to use more weight of the larger seeded crops, like radish, to cover the same area as a small-seeded crop. If you plant them too densely, though, they may rot or become leggy prior to harvest.
How heavy to plant is also a function of growing conditions and what size crop you want to harvest. Microgreens harvested at a larger size will need to be planted farther apart since they will take up more space and be in the tray longer. Better ventilation may enable a higher planting density. This is especially true in the wintertime when greenhouse vents are not opening much. In this situation Horizontal Air Flow (HAF) fans make a big difference.
Below: The most common problem growers encounter with microgreens is damping off, which is often caused by overly dense seeding and lack of air circulation. All photos by Andrew Mefferd.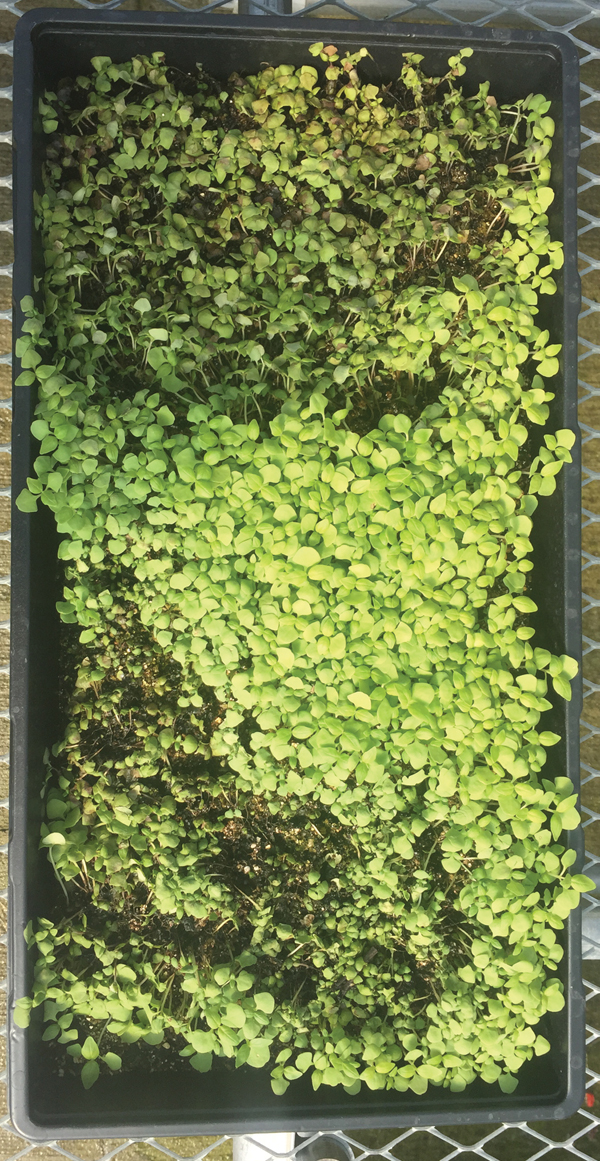
Simply keeping the air moving can reduce the incidence of disease. In a small area, setting up a fan to circulate air over the crop may help. Good airflow is always important, but you may be able to plant more densely in the summer, when there is more light and heat. Clean, pathogen-free water is essential from a food safety standpoint as well as for keeping the plants healthy until harvest.
Starting seeds
It is helpful to test a few different densities and figure out how much seed you need of a particular variety so you can weigh out the seed before planting. It can be difficult to judge the right amount by eye. If you weigh the seed, when you find a density that works, you can replicate it every time. It also makes it easy for other people to do the seeding when you can tell them exactly how much to plant.
A decade ago, we were growing microgreens in potting soil in 20-strip trays. The flats were filled with soil and seeds sprinkled down the length of each row, judging density by eye. This was particularly difficult with dark-colored seeds (i.e. most of them) because they blended in with the soil. Having the micros in tidy rows did make them easy to cut, but it reduced the amount of usable space in each tray. Now, I see most people growing them in open flats to get the maximum growing space out of each tray.
In addition to potting soil, there are also solid mediums made specifically for microgreens. Soil and solid media each have their advantages. Potting soil is used by many growers because it usually has enough fertility to get microgreens to a harvestable size. But it is messy and can be expensive if you are going through a lot of it. Soil can easily end up on the leaves, which is hard to get out of the finished product.
Solid media is quick and neat but may require fertilizer, and may generate trash. Some of it is made out of synthetic fibers, so the used media can’t be composted. These were developed after growers started using burlap and other fabrics to cut down on the cost of potting soil. Most of the fabrics look like fleece, and simply provide a surface for the seeds to root into.
Below: Mixed brassicas growing on propagation felt. When using an inert substrate, you may need to fertilize to provide sufficient nutrients to grow the plants to harvestable size.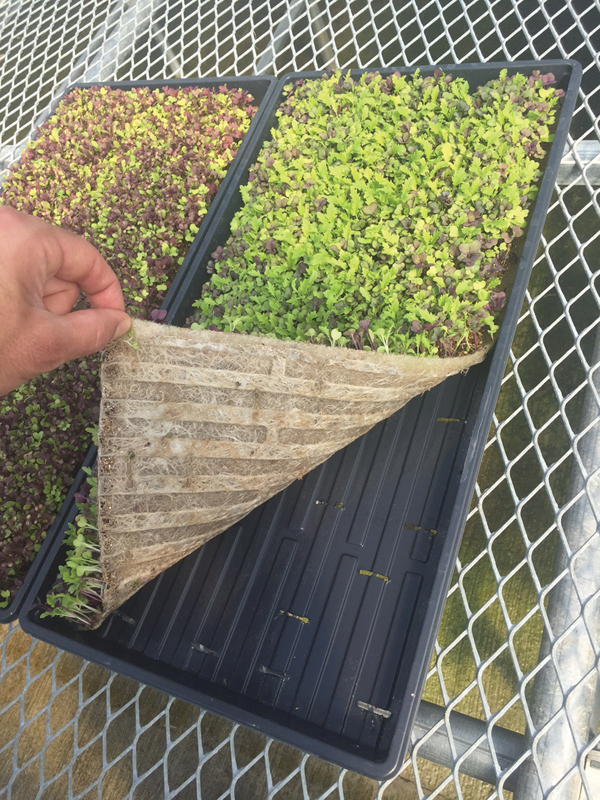
An example of a solid substrate made for microgreens is BioStrate microgreen propagation felt. The convenience of using a solid medium may appeal to growers who are growing only microgreens, growing hydroponically or otherwise aren’t already handling soil. All you need is something to hold the roots for the short time they are growing. BioStrate Propagation Felt for Microgreens is available from Grower’s Supply (see ad on the back page). It can be composted in a commercial composting facility, but is not suitable for backyard composting.
When using a solid medium that doesn’t have any fertility, it may be necessary to supply fertilizer in the water to replace the fertility that would otherwise be in the soil. Some fast-growing micros may be able to grow to a harvestable size without supplemental fertility. But micros that grow for two weeks or longer may need fertility, and all micros will grow faster when fertilized than when grown in an inert medium.
Regardless of whether you are using soil or a solid medium, it is an advantage to have a medium that is compostable. This turns a waste stream into a compost ingredient. Spent microgreens can make high-grade compost that can be used to improve the soil in a hoophouse or greenhouse.
Regardless of what medium you use, grow in low-sided trays. These are shallower than the standard 1020 trays used for seedlings. You want to be able to cut the microgreens as close to the base and get as much stem as possible because much of the weight is in the stems.
Harvest can be done manually with a sharp knife or scissors, though there are a variety of mechanical cutters that speed up the process. Electric carving knives can be used, but my favorite are electric grass clippers. These are made for tidying up the edges of lawns and can also work great for microgreens. There are a variety of blades available which range from mini-hedge trimmers to ones that work like multiple pairs of scissors cutting at the same time. Get one that has several different blades and figure out which one you prefer.
Below: Brassica microgreens at the cotyledon stage, before true leaves appear. The harvest stage will depend on the customer’s wishes.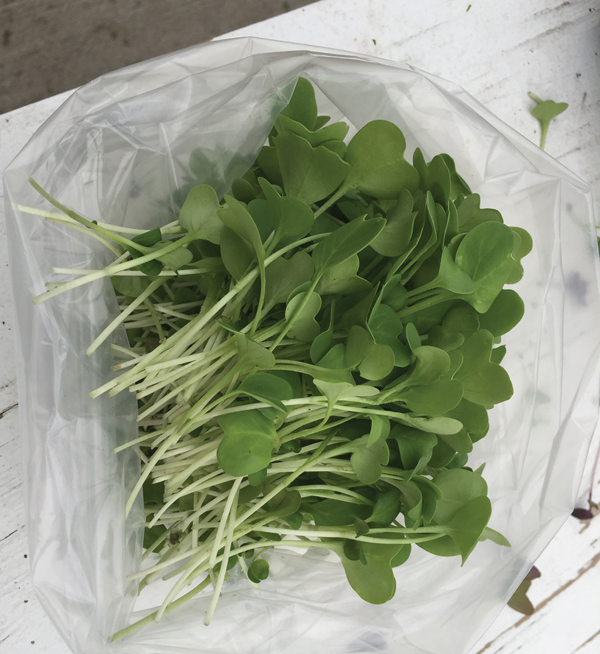
The underlying principle that holds true for almost all microgreens varieties is the larger the seed, the faster and higher the yield. A larger seed will have a larger seedling with more stored energy to get to the true leaf stage quicker. This is why you can’t mix very small-seeded varieties with large-seeded ones. When planted on the same day, small-seeded varieties won’t look like anything by the time the large ones are ready to harvest.
If you followed the principle of bigger seed = bigger, faster yield to its logical conclusion, everyone would be using pumpkin seeds for microgreens. While I have heard of some interest in doing cucumber microgreens, this is not standard practice. Because of their relatively large size and good flavor at the cotyledon stage, brassicas are the workhorses of microgreens production.
For better or for worse, the largest seeded brassicas tend to be radishes. Growing radishes like Red Arrow, Daikon and Red Rambo would be the fastest and highest yielding way to produce microgreens. The drawback to using a radish heavy mix is that it would be too spicy for many customers.
Below: A tray of garnet red amaranth micros are ready for harvest when the first true leaf develops.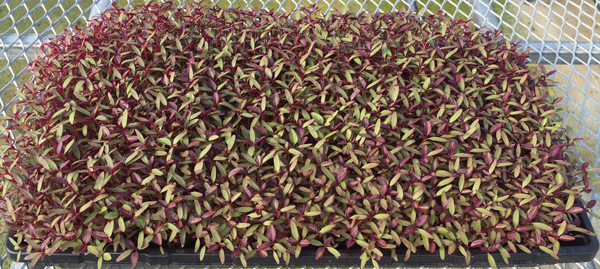
The next highest yielding brassicas which are not as spicy includes Hon Tsai Tai, Toscano Kale, Komatsuna, Ruby Streaks, Scarlet Frills and Champion collards. If I were going to make my own custom mix, I would draw heavily from this mild brassica group, and use as many of the radishes as my customer would tolerate. The only problem with a brassica-heavy mix like this is that it is mostly green and doesn’t offer much visual contrast. In my experience, the fastest and most striking provider of red coloring is Garnet Red Amaranth. It will need to be planted a few days before most brassicas, but less than most of the other bright red micros, and the color is intense. A little will go a long way to set off an otherwise green mix.
If you have never grown microgreens before, premixed seed is a good place to start. Premade mixes are designed to have compatible days to maturity, and will give you a good idea of what a mix should look like. When you are ready to branch out, customization can be one of the selling points for micro mix. Give seed catalogs with pictures of all the different microgreens to chefs and offer them a custom mix of whatever they want —for a premium, of course.
Many different varieties are available for microgreens production, and the reason is to allow growers in competitive markets to be able to differentiate their mixes. Unless you have such competition, it is probably most profitable to use brassicas as the foundation with a couple of other types thrown in for accents of color or flavor.
How much seed per tray?
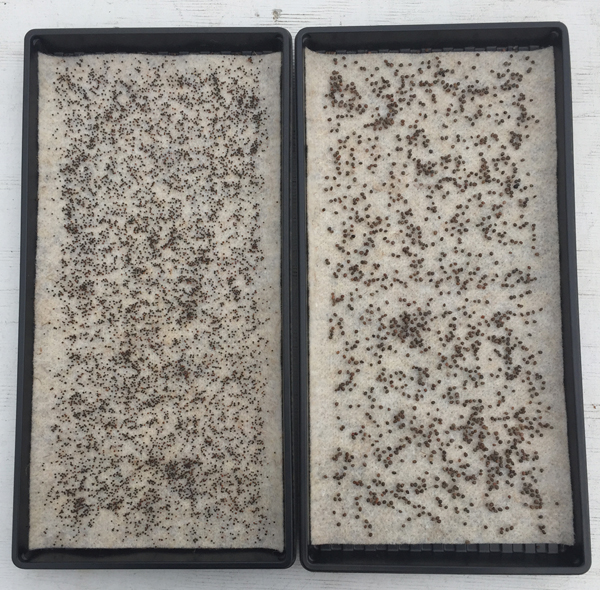 Seeding rates will vary widely based on the size of the seed, growing conditions, and how large of a microgreen you want to harvest. It may take 25 grams of a relatively large-seeded crop, like a radish, to fill a 1020 tray. A very small-seeded crop, like Magenta Spreen or Sorrel, might take only three grams of seed to cover the same tray. One easy way to figure out your ideal seeding rate is to start with a maximum of about 25g of seed for large-seeded crops with under 100,000 seeds per pound. Reduce the seeding rate by 5 grams for each group of 100,000 seeds per pound, for example use 20g for varieties with 1-200K seeds per pound, 15g for 2-300K spp, 10g for 3-400 spp, 5g for 5-750K spp, and 3g for 750-1 million spp. If anything, these rates are on the heavy side. Your mileage will vary, and you will need to adjust your seeding rates accordingly. Reduce the rates to grow larger microgreens or any other conditions where the crop will spend more time in the flat before harvest, like low light or cool temperatures.
In the photo below, two different brassica microgreens mixes are seeded onto woven substrate. The one on the left with smaller seeds was planted at a rate of 15 grams per tray to achieve this density. The tray on the right has 20 grams of the larger-seeded variety.
You can find additional information about microgreens production at Johnny’s Selected Seeds’ website, www.johnnyseeds.com.
Andrew Mefferd is the editor of Growing for Market and the co-owner of One Drop Farm in Cornville, Maine. He previously worked for Johnny’s Selected Seeds, where his duties included research on microgreens. He can be reached at [email protected].


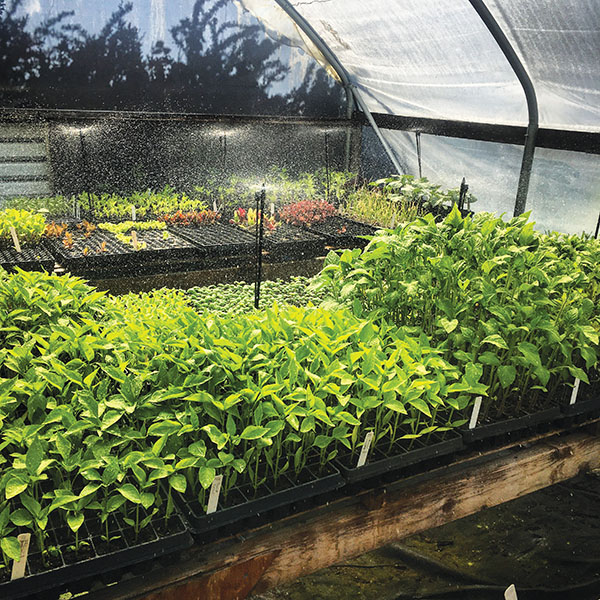 Since it’s the beginning of the year I’m sure lots of you are just about to start filling your greenhouses back up with seedlings in flats, plug trays, soil blocks and nursery pots, just as I am. If you’re not already using automatic water in your greenhouse, I’d encourage you to go check the archives for “Water Greenhouse Plants Automatically” that ran in the January 2010 issue, and I’ll give an update here on the evolution of my greenhouse sprinkler system, and what I’ve ultimately been using for at least the last eight years with good success and next to no problems.
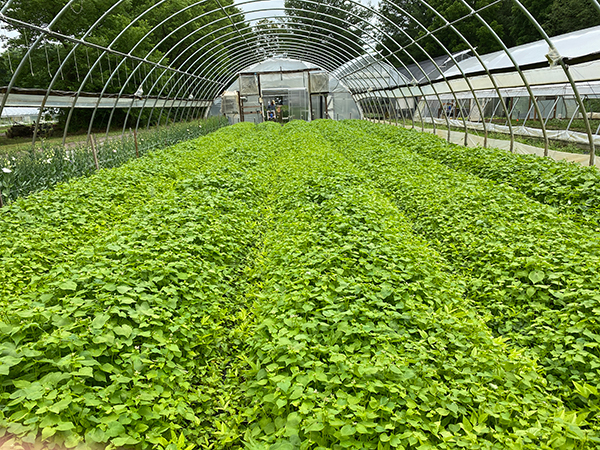 Over the last 10 years, there has been a lot of information coming out pertaining to growing veggies in soil in greenhouses. We wanted to share some of what we’ve learned over the past 13 years growing flowers under plastic and touch on some new approaches we’ve implemented since we last wrote about greenhouse growing (see our GFM articles in November 2014, November 2015, and April 2018).
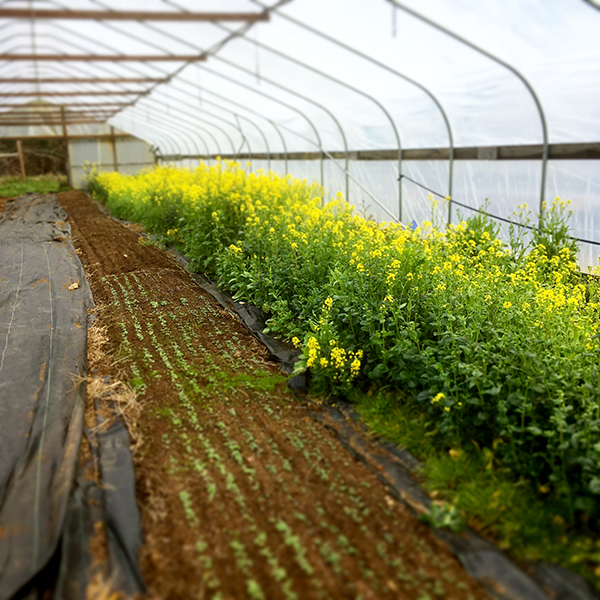 If you’ve been a subscriber to Growing For Market (or even if you haven’t), you’re probably familiar with the many advantages of no-till agriculture. No-till methods can reduce a farm’s carbon footprint, promote complex soil biology, and preserve and build organic matter.
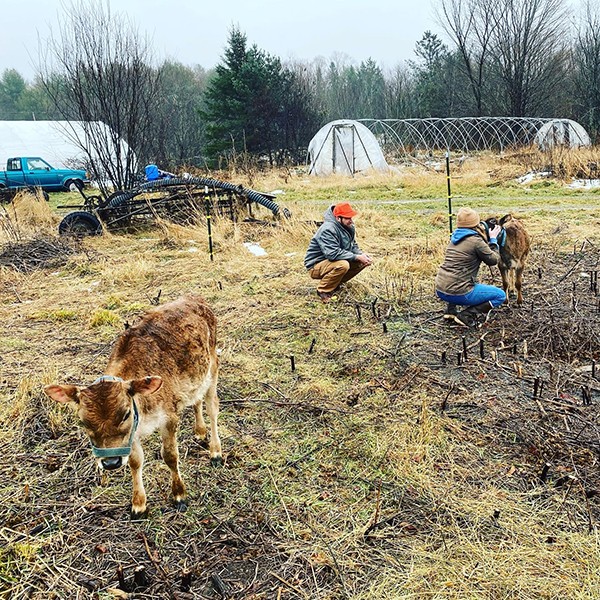 Why two of our hoophouses are named because of Emily
 As soon as we start driving our routes in the spring our customers ask us when we’ll have roselilies. They’re that popular and have become a signature crop for us. They’re basically a type of oriental lily, but with multiple layers of petals, and without stamens and pistils (i.e. no pollen!).

 In the hoophouse plants grow bigger and faster. We want to avoid anything that slows growth down. All that growing burns up the organic matter and nutrients in the soil at a fast rate, particularly in hot, humid climates. We need to replenish the soil more generously and more often than we do outdoors. Good soil health means having enough plant nutrients, not surplus. If you have too much soluble nitrogen (N), it can leach into the groundwater or burn up the organic matter. Using manure or compost for a nitrogen source can cause the build-up of excess phosphorus (P).
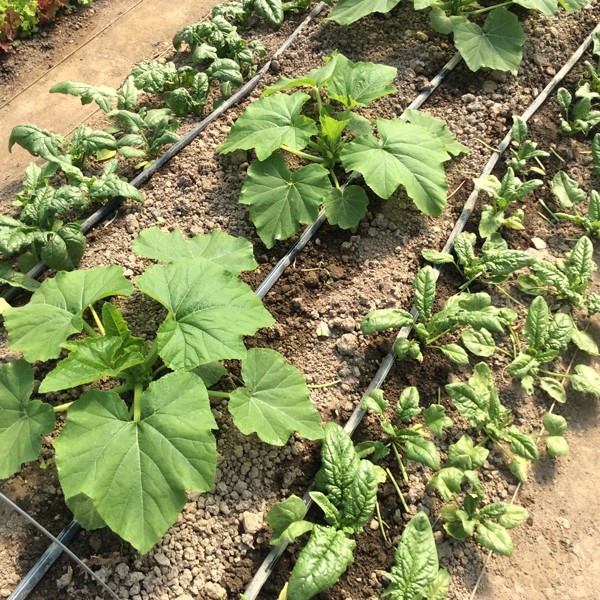 We have three main seasons in our zone 7 central Virginia hoophouse: fall-winter (October to March), spring-early summer (March to July) and high summer (August and September). We grow one bed (90’/27.5 m or so) each of yellow squash and bush cucumbers in the spring-summer season, for reliable early harvests and to help with crop rotation. If you farm in a colder climate than ours, you might be questioning allocating the precious real estate to a crop that so quickly goes from desirable to over-abundant, especially when there are more profitable things to give the space to. One reason is a difference between southern and northern climates.