There are several species of beans, which do not cross-breed. Here I will be talking about Phaseolus vulgaris, generally called snap beans or simply green beans. By choosing varieties appropriate for your farm, and giving thought to planting dates, it’s possible to get high yields and keep them coming till frost. Shelling beans (for harvest when dry) are an easy crop if the climate is right.
Varieties
We like both Provider and Bush Blue Lake snap beans for productivity and flavor. We often sow Provider for the early and late crops, with Bush Blue Lake during the main season. Contender may have more flavor, but is less productive then Provider. Jade is a delicious, very tender bean, which grows well in hot weather, but will be a dismal failure if the soil is too cold. Our approach is to plant a succession of 6 sowings of bush beans, so we always have some at the peak of production (sometimes too many!).
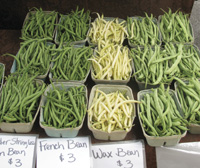
Those who like flat beans often choose Romano II as a reliable producer of tasty beans whether it is hot or cool, wet or dry. If you have a market for yellow (wax) beans, you can grow these for visual diversity — the flavor is not much different from green beans. Purple-podded beans look attractive while raw, but the color fades on cooking.
We have given up on pole beans as we don’t like putting up trellises. If the advantage of standing to harvest beats the disadvantage of putting up a trellis, you’ll prefer pole beans over bush varieties. Pole beans take a few days longer to mature but can then be picked for a longer period. Half-runner beans can be grown with or without trellises, and are capable of high yields. We haven’t grown any we really liked.
Crop requirements
A soil temperature of 77°F is best for germination, although a temperature of 55-60°F and rising is workable for dark-seeded varieties. Air temperatures of 65-85°F are best for growth. Like all legumes, beans produce nitrogen in their root nodules, although quite possibly this doesn’t peak till after the beans are being harvested. In order to grow strong bean plants you can fertilize before planting at about 120 lbs N/acre (134kg/ha), and use the bean-produced fertility for the following crop. If your soil is already very fertile, you could skip fertilizing before sowing the beans. Excess nitrogen will produce lots of leaves but delay flowering. 80-85% of the nitrogen produced ends up in the bean tops, so if possible turn them under before planting the next crop, rather than remove them to the compost pile.
The production of nitrogen is due to nitrogen-fixing bacteria in the root nodules, and if you are growing beans on land that has not grown legumes before, or it’s spring and you don’t want to rely on the existing bacteria waking up, adding some powdered inoculant is a good idea. Many growers add this at each sowing, as it is cheap and easy, especially if the beans have been soaked. Simply scatter some of the black powder on the beans as if you were adding pepper to your dinner, then stir the seed gently. Each bean needs only a few specks of the inoculant to get started. Contrary to any rural myths, the inoculant does not speed germination.
Beans tolerate a wide pH range, and like plenty of sun and well-drained soil. They definitely don’t thrive if flooded! An open site with good air drainage will help minimize mold problems and other leaf diseases. Crops take 50-62 days from sowing to first harvest.
Sowing
We make our first sowing 10 days before the last spring frost date, and cover the bed with row cover. Our last sowing is in early August, with the beans maturing (unless we are very unlucky), before our first frost in mid October. When frost threatens this planting, we cover with row cover on the cold nights. Usually this lets us get several more pickings before any serious cold weather arrives. During the day, row cover would stop pollination, but it does not stop beans that have already set from growing to full size.
Dark-seeded varieties are more resistant to rot in cold soils, so use these at least for the first spring sowing. To speed germination, soak the seed overnight (up to 8 hours) in tepid water. If the sowing has to be postponed after the beans are soaked, rinse them twice a day and drain. Plant in three or four days. If you wait longer than that, the rootlets will be too long and fragile.
If possible, ensure the soil has enough water before you sow, as watering after sowing can cause crusting and also chilling injury to the seed from the cold water. Avoid irrigation for two weeks after sowing to reduce the chance of the seed rotting. Sow 1” deep, a little shallower in spring, a little deeper in hot weather. Seeds are placed 2-3” apart. We use the wider spacing for new seed, and the closer planting for year-old seed. Two-year-old beans often have a germination rate of only 50%, and are not worthwhile.
Beans can be planted two rows to a bed, or on-the-flat in single rows with enough space to accommodate the pickers. The Oregon State publication listed at the end of this article says that the best spacing for optimum yield is 36 sq. in. per plant; for example, 2” in-row x 18” between rows. This is less space than recommended for areas prone to fungal diseases. Other advantages of these closer spacings are that the bean plants are more upright, with the beans higher in the canopy.
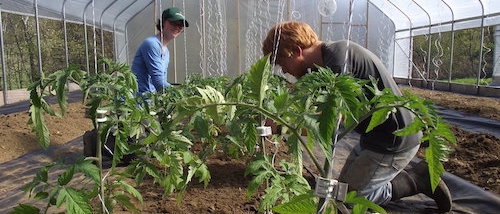
Cultivation
Do not cultivate or harvest while the leaves are wet, since anthracnose, bacterial blight and rust disease are more likely to spread under these conditions. Hoe or machine cultivate while the bean plants are small, and once they grow taller and bush out, few weeds will cause trouble. We have tried sowing beans through biodegradable plastic mulch, poking holes with rods and popping the seeds in. This crop stayed very clean, and withstood a drought caused by a crew member mistakenly pulling the drip tape out too soon. Sowing took a long time, and anyone tempted to try this would be advised to make a jig that punches multiple holes at once. In that way, the saved cultivation time, lack of diseases, and extended life of the plants might balance out the extra sowing time.
Irrigation is most beneficial during bloom, pod set and pod enlargement. Time the irrigation so that the leaves dry before nightfall. During the growing season, beans need around 1” of water until the end of May, then up to double that in summer.
Rotations
Because they are not planted until spring is well underway, beds for beans can grow a good stand of winter cover crops ahead of the cash crop. Winter rye should be turned under three weeks ahead of sowing, to allow the rye and its allelopathic compounds to break down. We have found wheat to be easier to incorporate and to have less of an inhibiting effect on germination of the next crop. It is usual to avoid legume cover crops ahead of legume food crops, to reduce the likelihood of spreading any pests or diseases. For the same reasons, it is better to grow beans where there have not been other legumes for three years.
We routinely fail in this endeavor, as we like to add soybeans to our summer cover crop mixes, and Austrian winter peas or crimson clover to our winter mixes. We haven’t seen any problem that we can directly blame on a poor rotation, and until that happens we’ll likely continue to add legumes frequently, to increase the soil organic matter, feed the soil micro-organisms and support the nutrient cycle. The Cornell publication listed at the end goes into detail on developing a nutrient plan.

Succession planting
Before we discovered that Pedio wasps kill off the Mexican Bean Beetles, we needed a new patch of bush beans coming into production every two weeks to keep up supplies of good quality beans. We made seven plantings at 15 day intervals: 4/16, 5/20, 6/9, 6/24, 7/9, 7/22 and 8/3. We now plan for a new patch to harvest every 20 days, sowing six times rather than seven. As well as saving space and sowing time, we get more beans than previously. Much of the time we pick from two patches with an overlap period.

To calculate the best planting dates for your farm, you’ll need four pieces of information: first possible planting date in spring, first harvest date from each sowing you’ve done, last planting date that will provide a crop in time before fall frost, and the number of days you want to be picking from the same plants. For us, space is tight, and we want to pick from the same plants for 3 weeks, after which the yield goes down, and it takes too long to “search” for the ripe beans. Some growers prefer to pick from each planting only once or twice and then move on to fresh plants.
See the table at left from our multi-year records of various sowing dates of one variety, with corresponding first harvest dates. And then see the graph we made from this data. To ensure a continuous supply with a new patch coming into harvest regularly, we first determined the earliest possible and latest possible harvest start dates, and then divided the period in between into a whole number of intervals. In our case we went for 20 days. If we expect the first beans to start coming in on 6/16 and the last ones on 9/24, then the period in between is 100days long. If we want fresh beans every 20 days, we’ll need a total of 5 intervals between plantings, which is 6 sowings.
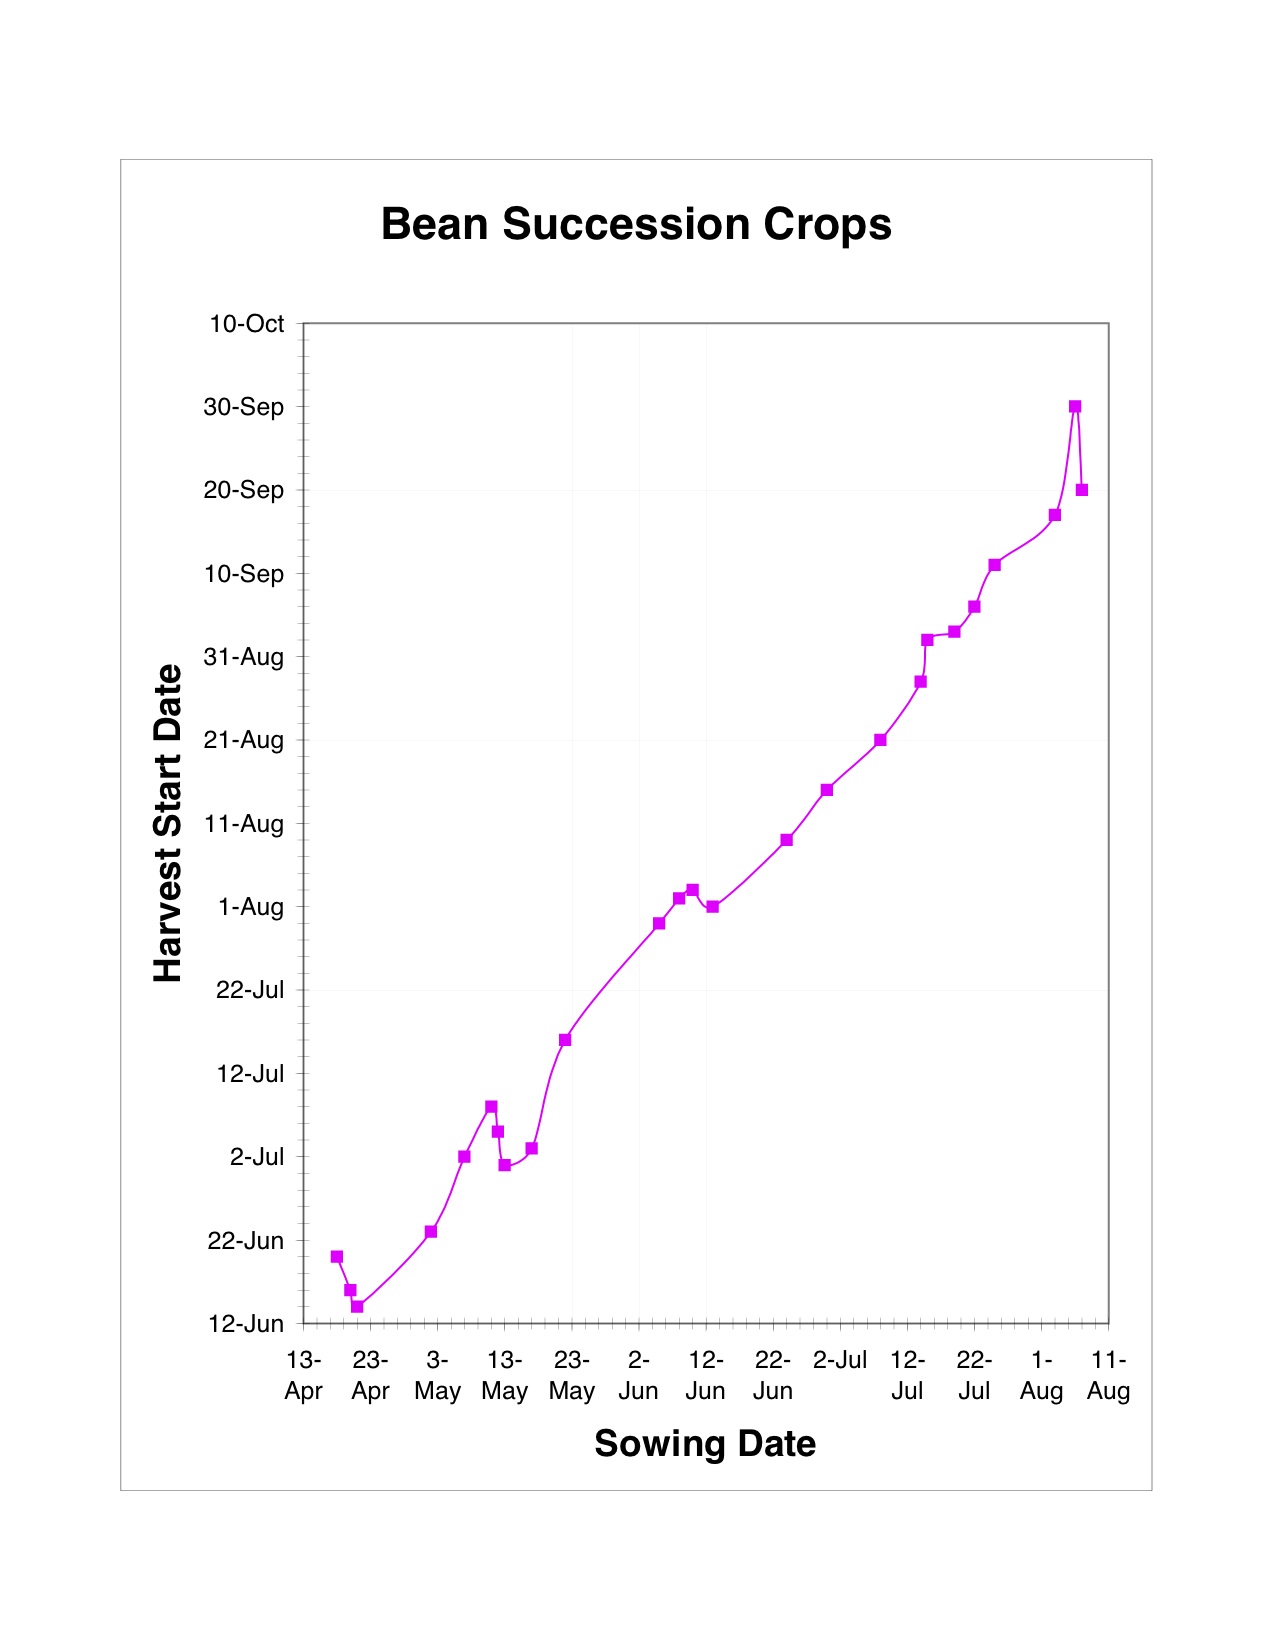
To determine the sowing dates for the 6 evenly spaced harvests, calculate the harvest dates (one every 20 days, starting 6/16), mark them on the graph, and then read across to see which sowing dates will give the desired result. You’ll need to draw a “best smooth line” on your graph to even out the wiggles caused by the particular weather each year. It should have the same number of points above the line as below. It won’t necessarily be a straight line, it is more likely to curve, as crops mature faster in warmer weather. Harvest dates of 6/16, 7/6, 7/26, 8/15, 9/4 and 9/24 imply sowing dates for us of 4/20, 5/14, 6/4, 6/26, 7/19 and 8/7. In practice we bring the first sowing forward to 4/16 if the weather is decent, and also bring the last one forward to ensure a decent length of harvest if the weather starts to cool down quickly. This gives us sowing dates of 4/16, 5/14, 6/7, 6/29, 7/19 and 8/3. These sowing intervals are 28, 24, 22, 20 and 15 days.
Drying (Soup) beans
Some varieties of beans are primarily grown for harvest as dry beans. For a commercial crop to be worthwhile, these would probably need to be grown on a field scale and harvested with a combine. As more people become interested in locally grown food, the market for sustainably produced dry beans will grow, as the market for small grains has done. Small-scale trials of various varieties can be processed by hand. There are many heirloom varieties available, as well as the standard black turtle and pinto types.
Pests and Diseases
By far the worst pest of beans we ever deal with is the Mexican Bean Beetle, a yellow-bronze beetle with eight black spots. Adults overwinter in plant debris, so clean up well in the fall, and try not to have your first bean planting be near the site of your last one the previous year. Here, the MBB emerge on the first cloudy day in early June. We used to flame each bean planting when numbers and damage became intolerable, and move on to the next planting. A smarter move would have been to plant a small early trap crop of beans deliberately at or near the site of the late beans the previous year, and then flame the trap crop when there are larvae, but not yet any pupae.
Nowadays we buy the parasitic wasps Pediobius foveolatus, ordering them as soon as we see the fuzzy yellow MBB larvae, which is the stage the wasps attack. The challenge for us is to get them to our farm while they are still alive. Our UPS deliveries come in the afternoon, at the end of a day of touring the region. Regardless of how quickly the beasties have been transported from their “ranch” to our UPS depot, a whole day on the van is going to do them in! We solved this problem by co-ordering (early in the week) with our neighbors at Southern Exposure Seed Exchange, whose level of business requires a morning UPS delivery. Then we cover the last seven miles ourselves.
The package contains mummified MBB larvae, with the wasps on the point of hatching. They are released by setting the open container under the bean canopy close to a supply of fresh MBB eggs and larvae. Sometimes I shake out a few mummies here and there along the row. Once hatched, the wasps are very mobile, and will likely take care of your neighbors’ MBB as well. The Pediobius do not overwinter in our climate, but we have found that good control for a few years reduces MBB numbers so that we can sometimes take a year off from buying the parasites.
Bean Leaf Beetle sometimes attacks our beans, but at a very low level, and the plants don’t seem much affected. Other insects that can damage bean crops include potato leafhopper, seedcorn maggot, European corn borer and tarnished plant bug. Mites and slugs can also cause trouble.
Root Lesion Nematodes, Pratylenchus penetrans, can be hosted by snap beans, although they may produce no symptoms. A severe infection can cause stunted plants. Long-term planning is needed to deal with nematodes.
The main defenses against disease are to keep the leaves as dry as possible. Consider orienting the rows to take advantage of the prevailing winds, planting on raised beds, using wide row spacing or in-row plant spacing, to reduce the chance of a foliar disease taking hold.
Fungal diseases tend to be furry. Botrytis Grey Mold can be tackled with Neem extracts. Sclerotinia white mold can be avoided by rotating with sweet corn or other grass crops, and avoiding nightshades, brassicas, lettuce, or other legumes. Serenade (Bacillus subtilis) may help in dealing with an outbreak. (So far, I haven’t needed to find out.)
Bacterial diseases of beans cause brown spots which may have paler margins, on leaves and pods. The lesions may appear sunken or water-soaked. Virus diseases cause leaves that are typically mottled, blistered or curled.
Scout the fields deliberately once a week or more, and keep a weather-eye open while harvesting or cultivating, to spot small problems before they become large ones. See the Cornell publication for detailed organic disease and pest control information.
Harvest and postharvest
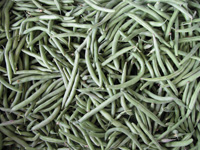
We pick beans three times a week, going for the pencil-sized pods. In our climate, beans can size up in two days. It’s important to train crew to nip through the stem of the pod, and not leave the cap part on the plant, as this is the part which signals to the plant whether to continue cranking out the beans (yes please!) or stop and focus on ripening seed. For the same reason, it is important to pick and discard any oversize pods.
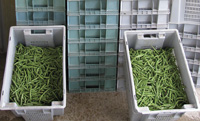
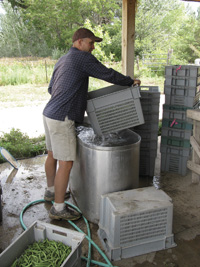
Like many warm weather crops, beans are liable to chilling injury if over-enthusiastically refrigerated. If possible keep the temperature above 40°F, or you risk having the beans become slimy and pitted. Use hydro-cooling or forced air cooling rather than top icing. They can be stored for 7-10 days at 95% humidity and 40-45°F. Temperatures above 45°F are likely to lead to yellowing and development of fiber.
Resources
Cornell University 2009 Production Guide for Organic Snap Beans for Processing
http://www.nysipm.cornell.edu/organic_guide/bean.pdf
Oregon State University has a publication for commercial bean growers (not organic);
http://nwrec.hort.oregonstate.edu/snapbean.html
Pam Dawling is the garden manager at Twin Oaks Community in Virginia. The gardens produce virtually all the fresh produce and most of the preserved produce for the community’s 100 residents. [email protected].


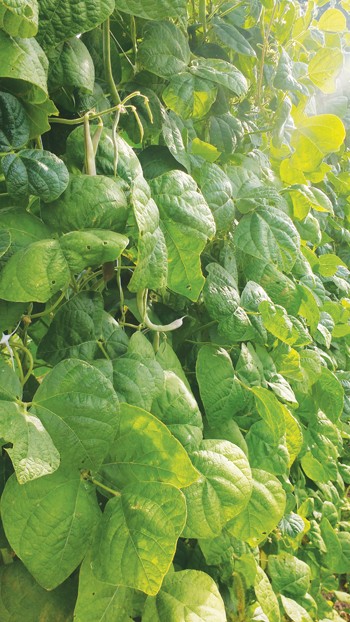 A few years back we realized we hated picking beans. Not only do they take a disproportionate amount of time to harvest, but also it is backbreaking work. So we decided to try growing a bed of pole beans. We loved picking them standing up and we congratulated ourselves on how clever we were!
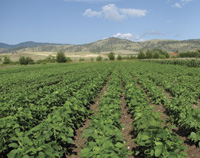
 Fifth Crow Farm lies nestled below some ragged hills – the native grass fully brown, the oaks wide and green. The farm grows 50 acres of certified organic crops on 150 acres of leased land, including vegetables, cut flowers, dry beans and eggs. The farm land is completely flat, tucked in a tiny valley in zone 9B. Believe it or not, just across the street, a mere two miles from the ocean, there are acres and acres of open land with cows grazing. How can land so close to such beauty, and with such a wonderful growing season be devoid of development? The answer is complicated, but mostly it’s because the parcels of land have always been quite large, and much of it is being purchased for conservation purposes.